Have you ever wondered how public API platforms, payment services, or popular websites such as Medium, Twitter, and others manage that their APIs are not overloaded? It’s all thanks to a concept known as rate limiting.
Rate limiting does exactly what the name implies, it limits or regulates the rate at which users or services can access a resource. This strategy is incredibly versatile and can be applied in various scenarios. It can be used to restrict the number of calls a user can make to an API, or the number of blog posts or tweets they can view, or regulate the number of successful transactions they can make within a given time.
In this article, we will explore the concept of rate limiting, followed by a step-by-step guide on how to implement a rate limiter in a Node.js application.
Prerequisites
Before we begin, please ensure that you have the following:
- Node.js installed on your computer.
- Basic knowledge of JavaScript and Node.js.
- Integrated Development Environment (IDE) (e.g. Visual Studio Code)
- API testing software (e.g. postman)
Example Code
This article is accompanied by a working code example on GitHub.What is Rate Limiting
Rate limiting is a strategy for limiting network traffic on a server. It puts a cap on how quickly and frequently a user can interact with a server or resource, preventing overload and abuse. For instance, we might want to set a limit of, say, 25 requests per hour for users. Once these users exceed the set limit during the one-hour time window, any further request made within the window is rejected. It typically responds with an HTTP 429 status code, and an error message is thrown indicating the user has made too many requests and exceeded the maximum request limit.
Why Do We Need Rate Limiting?
- Preventing abuse: Without rate limiting, a single user or bot could overload the system with excessive requests, causing performance degradation or service downtime.
- Tailored limits: We can set different rate limits for each pricing plan, allowing flexibility to match user needs.
- Fair resource allocation: It ensures fair resource distribution, preventing one user from monopolizing server resources at the expense of others.
- Security against brute-force attacks: It slows down or mitigates brute-force attacks, making unauthorized access attempts more challenging and time-consuming.
- Defending against DDoS attacks: Rate limiting helps reduce the impact of DDoS attacks by limiting incoming request volumes.
- Cost efficiency: In cloud-based environments, rate limiting controls resource consumption, ensuring that no single user or group overuses computing power, ultimately reducing operational costs.
Considerations for Implementing a Rate Limiter
Rate limiters enhance the service quality of an application by preventing resource shortages and request floods. This section discusses key considerations for implementing rate limiters on an application.
- Determine the client identity: Bear in mind before implementing rate limiting, we need to determine the client identity to be rate limited. This can be based on factors like IP address, user account, or API key. In an API, we can establish distinct rate limits for different categories of users. Anonymous users can be identified primarily by their IP addresses, while authenticated users are identified through API keys, IP addresses, or user account information. However, note that relying solely on IP addresses has limitations due to shared IPs and malicious users. It’s advisable to combine IP-based rate limiting with other authentication methods for enhanced security.
- Determine application’s traffic volume limit: Before setting rate limits, it’s crucial we have a deep understanding of our application’s capacity and performance limits. This knowledge enables us to establish appropriate rate limits that safeguard our server from potential overloads.
- The appropriate rate limiting libraries to use, or build your own: When it comes to rate limiting, there are two options to consider: using pre-existing rate-limiting libraries designed for our programming language or framework, or developing a custom rate limiter tailored for our application’s unique needs. The choice between these options requires a thoughtful evaluation of several critical factors, such as performance, stability, compatibility, customization needs, development effort, and long-term maintenance considerations. Ultimately, the decision should align with the specific requirements and constraints of the application.
Algorithms for Implementing a Rate Limiter
When it comes to implementing rate limiting, various algorithms are at our disposal, each tailored to optimize specific aspects of the rate-limiting process. In this section, we will explore some commonly used rate-limiting algorithms:
Token Bucket Algorithm
This algorithm functions as a bucket holding tokens, where the system tracks tokens assigned to each client in its memory. Every incoming client request consumes one token from the bucket. The token represents permission to make one API request.
When the bucket runs out of tokens due to requests, the server stops processing new requests and returns HTTP response code 429, indicating that the maximum request rate has been reached. Requests are only processed when tokens are added back to the bucket.
The bucket has a maximum capacity, limiting the number of requests it can handle. The token bucket algorithm allows clients to use tokens as quickly as they want, provided there are enough tokens in the bucket.
Tokens are replenished into the bucket at a fixed, consistent rate representing the allowed request rate for the client.
This algorithm has drawbacks, even if it offers a consistent and predictable request processing rate. Requests may be rejected due to an empty bucket during periods of high traffic. As a result, increasing the bucket size on a regular basis helps to mitigate this issue.
Fixed Window Algorithm
The fixed window algorithm specifies a time window in seconds or minutes during which only a fixed number of requests can be sent. For example, we may allow 15 requests per minute. Once these 15 requests have been processed within a minute, any subsequent requests must patiently await the commencement of the next one-minute interval.
The fixed window algorithm is a simple approach, but it has a disadvantage. As the time window closes, requests arriving towards its end can lead to a sudden surge in processing demand, followed by prolonged periods of inactivity. This request pattern has the ability to strain resources and undermine the system’s efficient operation.
Sliding Windows Algorithm
To address the limitations of the Fixed Window Algorithm, consider an adaptive approach. The Sliding Window Algorithm continuously adjusts the window size and the request counter in each window.
In contrast to the Fixed Window Algorithm’s fixed rate, the Sliding Window Algorithm slides the window over time while maintaining a log of request timestamps within this moving timeframe. As time progresses, it gracefully removes requests older than the window’s duration. When a new request arrives, the algorithm assesses whether the count of requests within the window exceeds the defined limit.
This approach offers flexibility in defining the window duration and is particularly useful for tracking historical request patterns.
The Sliding Window Algorithm offers flexibility and adaptability. It dynamically responds to fluctuations in request rates, ensuring that our rate-limiting strategy remains in sync with the evolving demands of our application.
Leaky Bucket Algorithm
The Leaky Bucket algorithm is based on the idea of a bucket that leaks water at a specified rate. Here’s how it works:
Think of each API request as a drop of water that enters this bucket. The bucket has a maximum capacity, defining its limits for incoming requests.
As requests flow in, they fill the bucket. If more requests arrive and the bucket hits its maximum capacity, excess requests are either discarded or rejected.
The bucket consistently releases or “leaks” its contents at regular intervals, controlled by a predefined rate limit configuration. Requests are processed and sent to the API at a fixed rate, matching the bucket’s leakage rate.
In essence, the Leaky Bucket guarantees a steady and well-managed request processing rate, even during traffic spikes. It maintains a reliable pace of request handling. However, it treats all requests equally on a first-come, first-served basis. To prioritize requests based on specific criteria, additional mechanisms may need to be implemented.
In the next section, we will look at how to implement a rate limiter in our Node.js application, and how to use a Rate limiter both globally across all routes and on a specific route.
How to Implement Rate Limiting in a Node.js API
Here, we’ll make use of the express-rate-limit NPM package. Surely we can build a custom rate limiter middleware ourselves using one of the above algorithms.
However, the express-rate-limit package simplifies the procedure for adding rate limiting to our demo application, enabling effective resource access management without the need for extensive custom development.
By default, express-rate-limit identifies users based on their IP addresses req.ip, extracted from the req object. The req object holds essential information about incoming HTTP requests.
express-rate-limit gives us the option to configure our window size and set the maximum number of requests allowed within that window.
To implement rate limiting into our Node.js demo application, we can follow the steps outlined below:
Step 1: Setup Basic Node.js Application
Open a terminal in a directory of your choice. We will create a new folder in this directory and initialize Node.js in it using the following command:
 mkdir node-rate-limiter
 cd node-rate-limiter
 npm init -y
Next, execute the following command to generate the necessary folders and files for our application:
mkdir middlewares
touch app.js middlewares/ratelimit.js
Our server setup will live in the app.js file, while the rate-limiting configuration will be introduced into our application as a middleware.
Middleware refers to a set of functions in Node.js that are executed sequentially during the processing of an HTTP request. These functions have access to the request object (req), the response object (res), and a special next() function that allows them to pass control to the next middleware in the stack.
Middleware functions are commonly used to perform various tasks related to request processing, such as authentication, logging, data validation, and rate limiting.
The rate limiter configuration will be provided as middleware from the ratelimit.js file.
Step 2: Install the Application Dependencies
To install the necessary packages for our application, Run the following command:
npm install express express-rate-limiter
Where:
- express: is a web application framework for Node.js. It simplifies the process of building robust, scalable, and performant web applications and APIs.
- express-rate-limiter: is a middleware for rate limiting in Express.js applications. It allows us to control the rate at which requests are allowed to our Express routes.
Step 3: Starting Our Node.js Server
Now, we’ll create basic APIs for our application and start the Node.js server.
For this, copy and paste the following code into the app.js file:
const express = require("express");
const rateLimitMiddleware = require("./middlewares/ratelimit");
const app = express();

// A simple API route
app.get("/api/blog", (req, res) => {
  res.send({
    success: true,
    message: "Welcome to our Blog API Rate Limiter Project 🎉",
  });
});

app.get("/api/blog/post", (req, res) => {
  res.send({
    success: true,
    author: "Mike Abdul",
    "title": "Creating NodeJs Rate Limiter",
    "post": "..."
  });
});

const PORT = process.env.PORT || 5000;
app.listen(PORT, () => {
  console.log(`Server running on port ${PORT}`);
});
With this code, we have successfully set up two API routes /api/blog and /api/blog/post both of which are not rate-limited.
We can start the application server by executing the command
node app.js
When testing the APIs with tools like Postman or a web browser, we will notice that there are currently no limits on the number of calls we can make to these endpoints.

When endpoints are not rate-limited and can be called endlessly, it can lead to issues like heavy resource usage, server timeouts, and unfair resource allocation.
To avoid these problems and secure our APIs, it’s crucial to implement rate limiting for our endpoints. This ensures that users cannot make an excessive number of requests within a specific time frame. To achieve this, we’ll create a rate-limiter middleware for our endpoints.
Step 3: Configure the Rate limit
To configure a rate limiter for our application endpoints, paste the following code into the rateLimiter.js file:
const setRateLimit = require("express-rate-limit");

// Rate limit middleware
const rateLimitMiddleware = setRateLimit({
  windowMs: 60 * 1000,
  max: 5,
  message: "You have exceeded your 5 requests per minute limit.",
  headers: true,
});

module.exports = rateLimitMiddleware;
In the above code, we are exporting a rateLimitMiddleware function which invokes the setRateLimit function instance from the express-rate-limit package.
This middleware enforces our rate limit based on the provided options, where:
windowMs: This is the window (time frame) size in milliseconds.max: Maximum number of requests which can be allowed in the given window size.message: This option is optional, we can customize the error message or use the default message provided by the middleware.headers: The headers option is essential, as it automatically adds crucial HTTP headers to responses. These headers includeX-RateLimit-Limit(indicating the rate limit),X-RateLimit-Remaining(showing the remaining requests within the window), andRetry-After(indicating the time to wait before retrying). These headers provide clients with vital rate-limiting information.
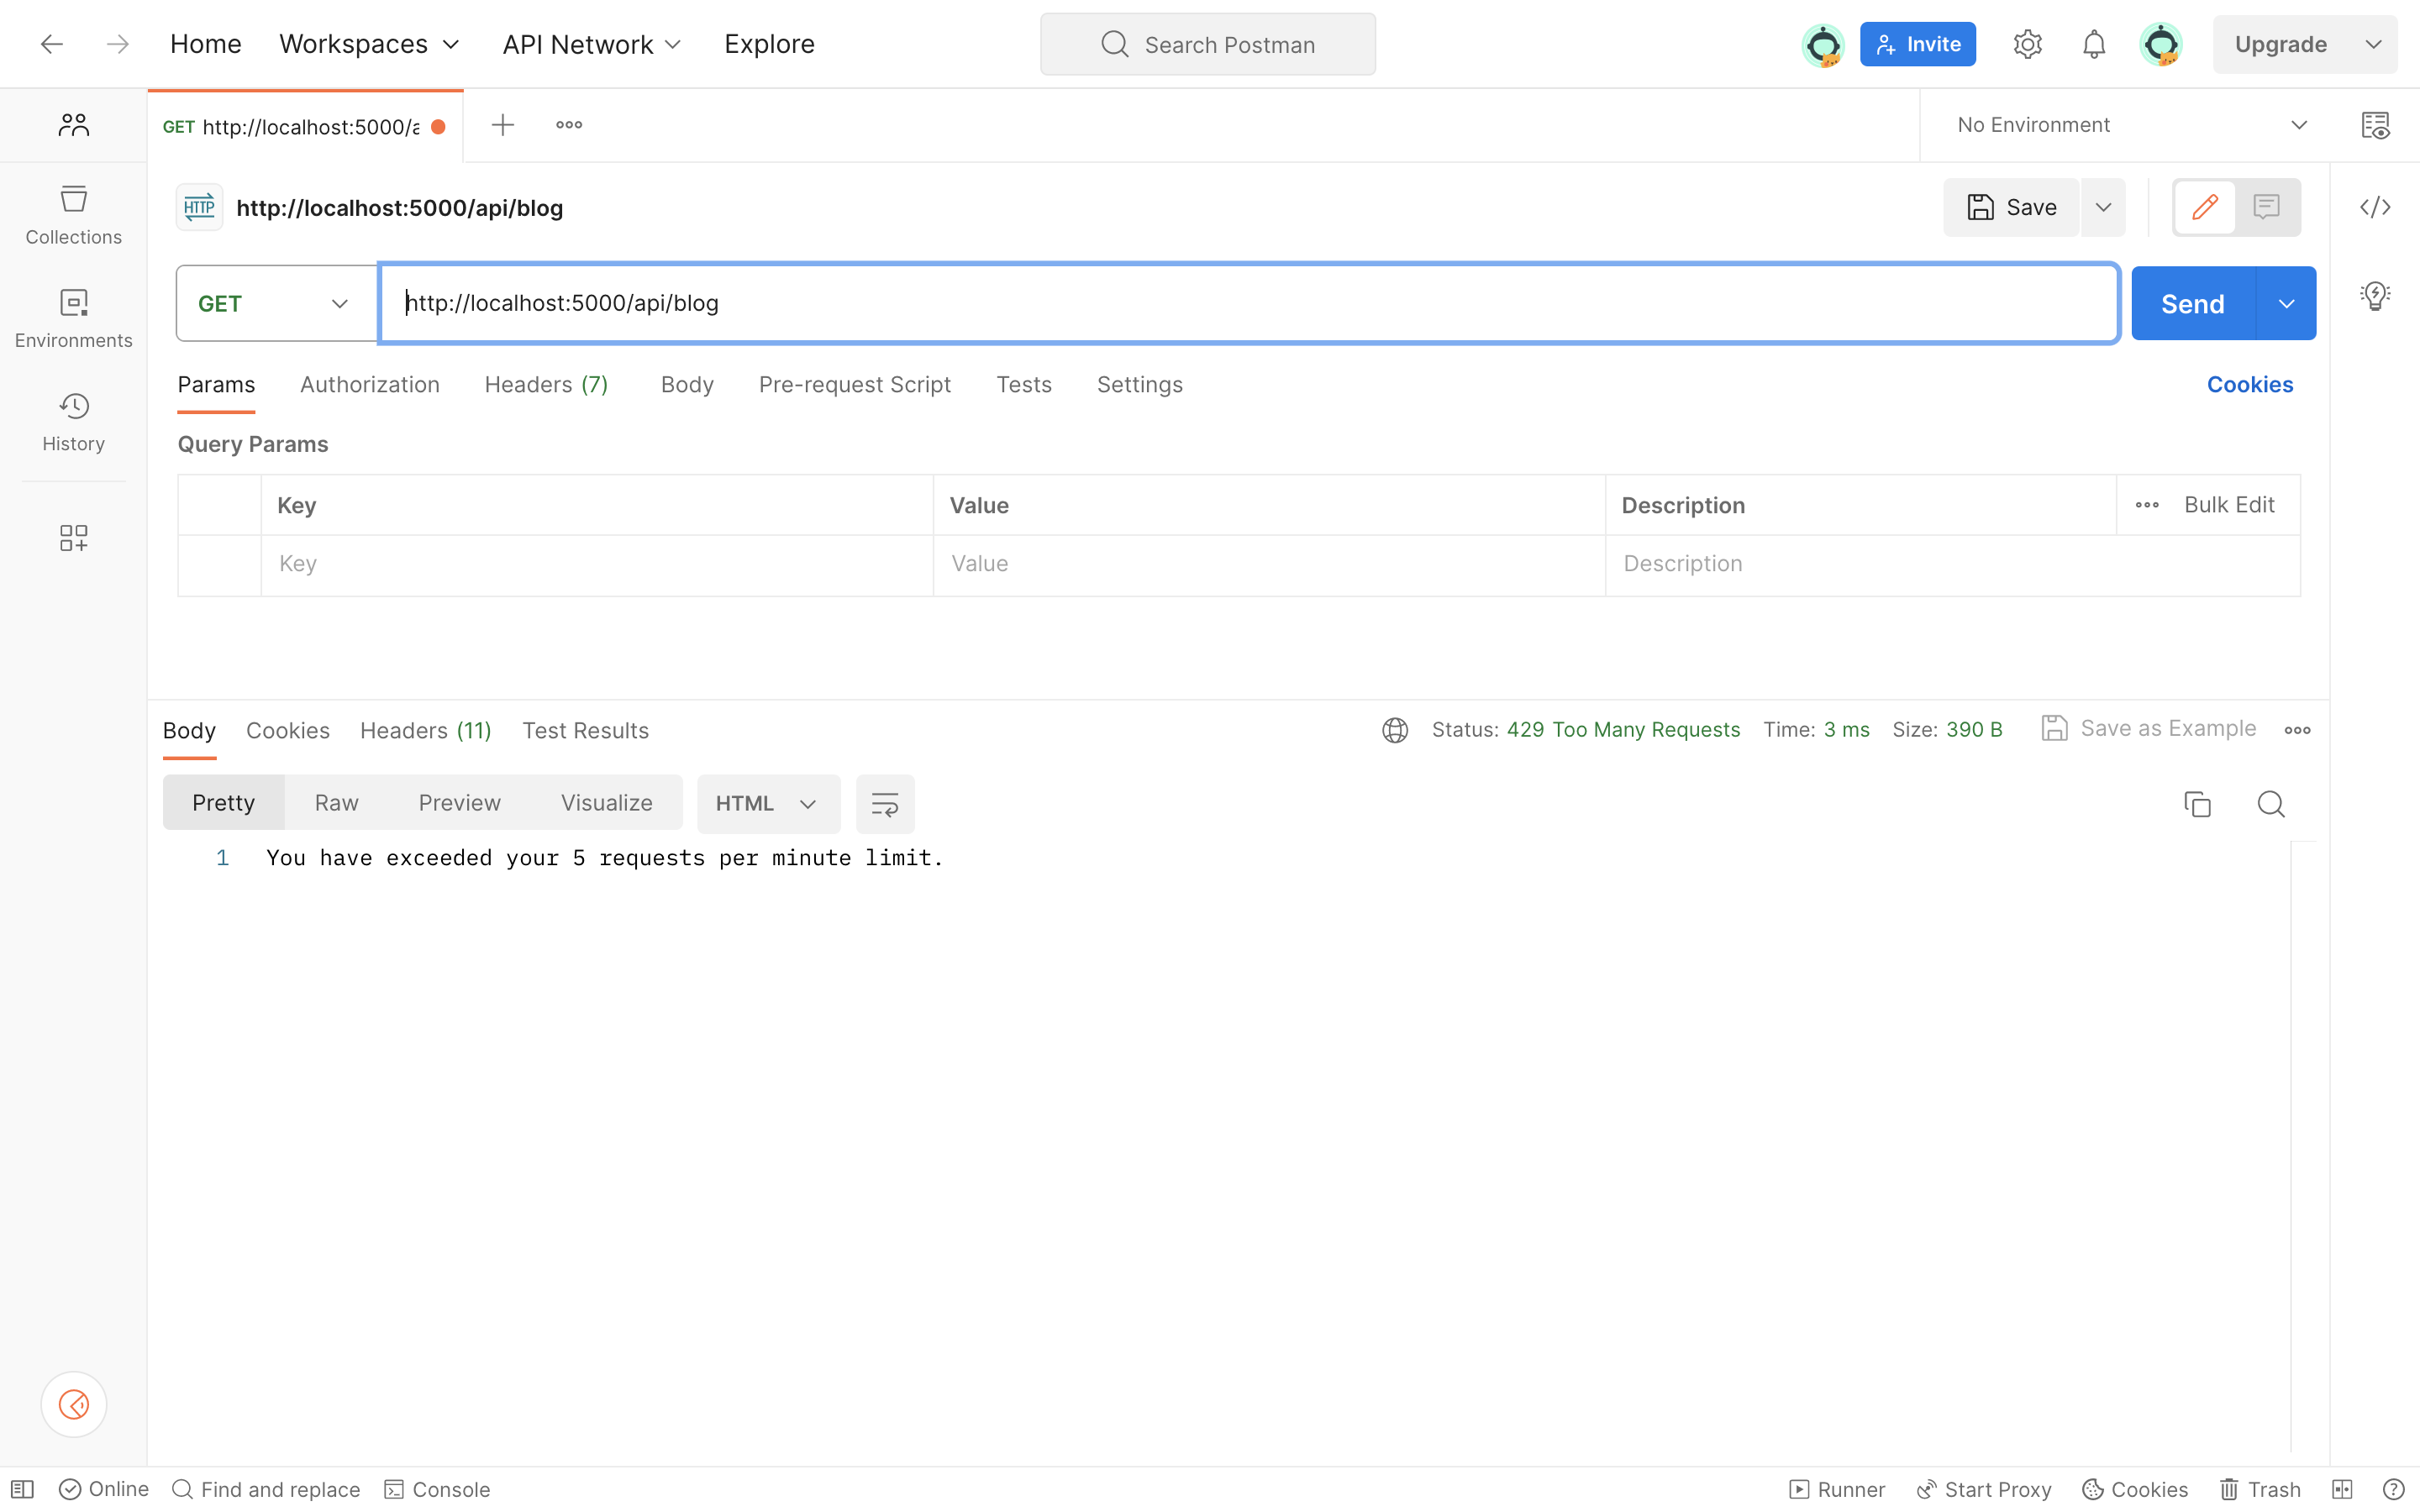
In our configuration, we have set our rate limit to allow a maximum of 5 requests per minute. If an endpoint is called more than 5 times within a minute, it will be denied, and our specified message will be sent with a Status Code of 429 indicating “Too Many Requests”.
We can set up the rate limiter in two ways: we can use it globally for all routes in our application or set it up for a specific route.
Using Rate Limiter Globally Across All Routes
To apply rate limiters globally in our application’s routes, copy and paste the following in the app.js file:
const express = require("express");
const rateLimitMiddleware = require("./middlewares/ratelimit");
const app = express();

app.use(rateLimitMiddleware);

// ... route definitions...
In the above code, app.use(rateLimitMiddleware) is used to apply rate-limiting middleware to our application. The app.use() method is an Express.js method used to bind middleware functions to the Express application. When a request is made to the server, it goes through a series of middleware functions, including the one specified here. In this case, rateLimitMiddleware is applied to all routes defined after the app.use() statement.
With this, all our application’s routes will be rate-limited.
We can test this by making requests to all the available endpoints in our application. If any of these endpoints are called more than the specified configuration allows (e.g. more than 5 requests per minute), the requests will be denied, and an error message will be returned.
Using Rate Limiter on a specific route
Above we implemented a rate limit on all available routes in the application. We also have the option to implement a rate limiter for a single specific route endpoint:
To do that replace the code in the app.js file with the following:
app.get("/api/blog/post", rateLimitMiddleware, (req, res) => {
  res.send({
    success: true,
    author: "Mike Abdul",
    "title": "Creating NodeJs Rate Limiter",
    "post": "..."
  });
});
In the above code, our /api/blog/post endpoint is configured to undergo a rate-limiting check before its handler function is executed. This rate-limiting middleware assesses incoming requests based on our rate-limiting rules. If a request complies with the rate limits check, the handler function responds with JSON data about a blog post. However, if the request exceeds the rate limit, it’s rejected, and the middleware might return an error response.
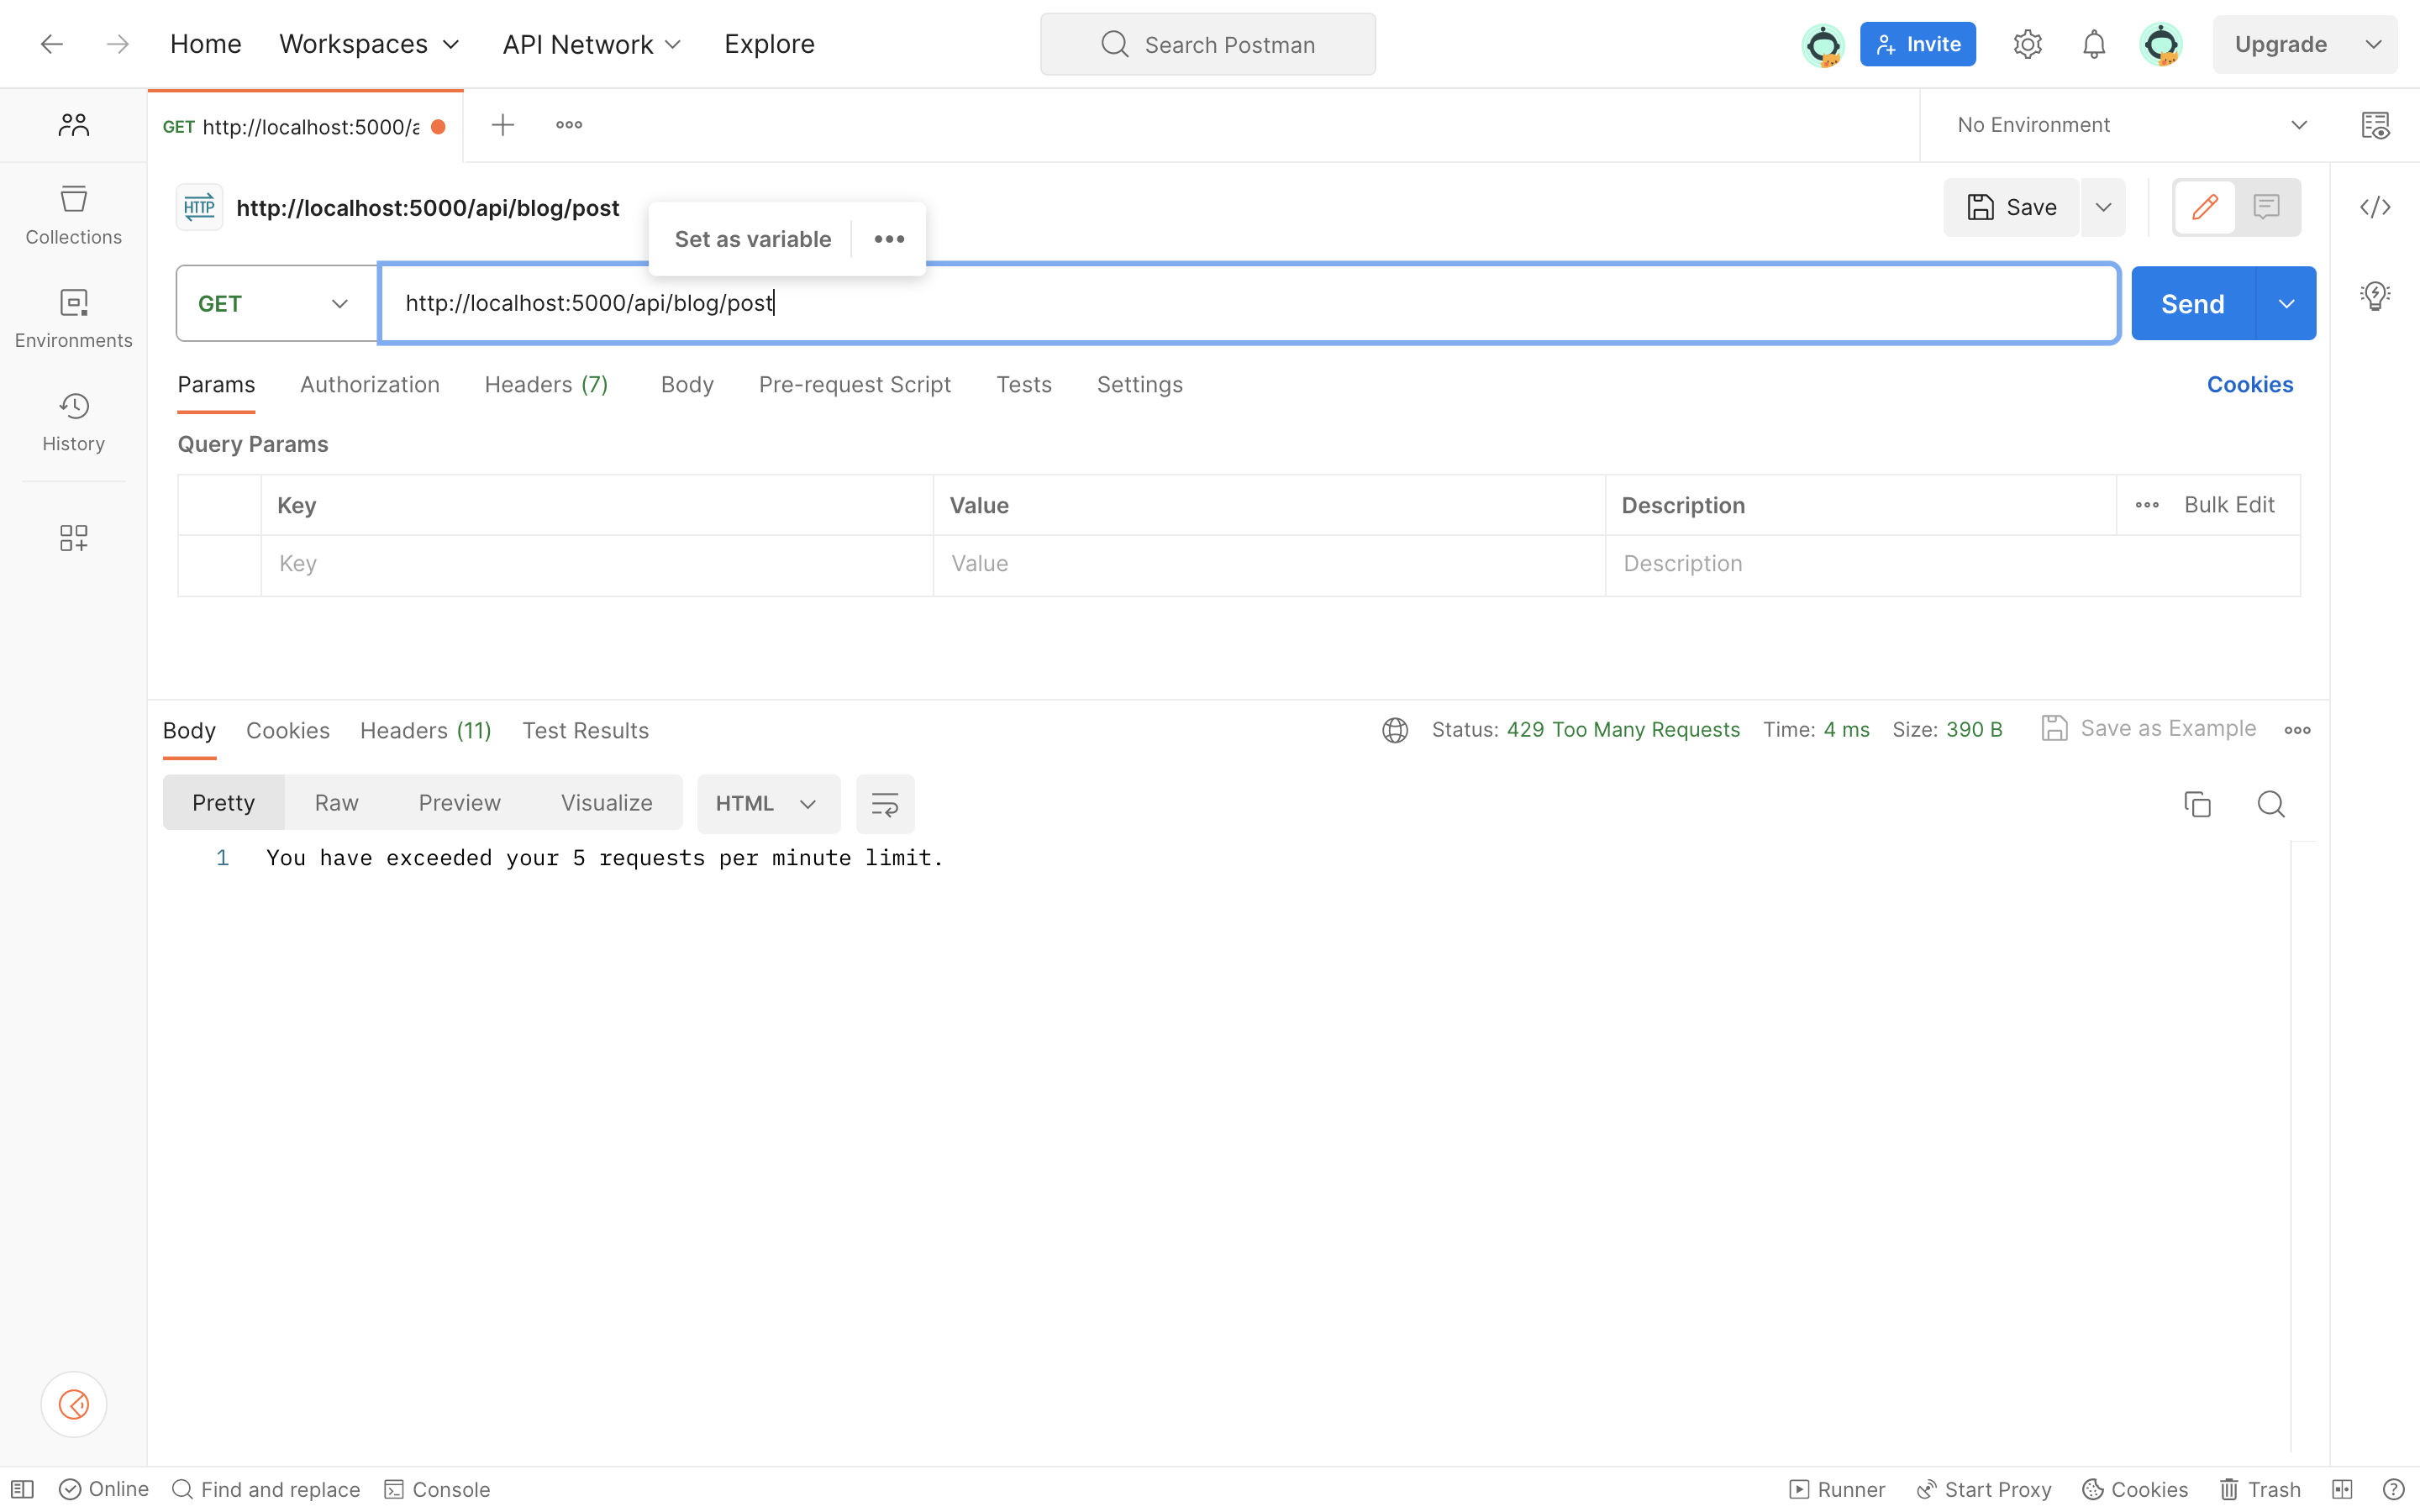
On the other hand, the /api/blog/endpoint isn’t subject to any rate-limiting constraints. Therefore, it can be freely called without limitations.
This approach allows us to selectively apply rate limiting to specific routes in our application, ensuring that critical endpoints are protected against excessive requests while leaving others unrestricted. We can add multiple rate limit middlewares with different sets of configurations for certain routes.
Conclusion
In summary, implementing API rate limiting in Node.js Express applications is crucial for maintaining service stability and security. The express-rate-limit NPM package is suitable for small to medium-sized applications. However, for larger applications, it may not scale well.
For large applications, especially those expecting high traffic loads, it’s prudent to consider alternative rate-limiting solutions that incorporate external state storage options, like Redis or Memcached. These external databases store and manage rate-limiting data separately from the application itself. As a result, rate-limiting becomes more robust and scalable.
You can refer to all the source code used in the article on Github.