Development teams, nowadays, can deliver quick value to consumers with far less risk with the help of feature flag-driven development.
Feature flags, however, are one more thing to think about when testing our code. So in this article, we’ll talk about some of the difficulties that testing presents in the age of feature flags and offer some suggestions on how to overcome them.
To help structure the discussion, we will outline five different sorts of tests that could be included in our testing plan:
- Unit Tests: Testing separate functions with unit tests.
- Integration Tests: Verifying how different modules work together.
- End-to-End Tests: End-to-end tests, also known as functional tests, examine how a real user might navigate our website.
- Quality Assurance (QA) Testing: A testing procedure that ensures functionality satisfies the requirement is termed quality assurance (QA) testing.
- User Acceptance Testing (UAT): Testing procedure to get stakeholders' approval that the functionality satisfies specifications.
The first three test types defined above are often executed automatically when using the Continuous Integration (CI) technique. QA testing, which can involve both manual and automated tests, may occasionally be performed by a specialized QA team. While the first four test types help determine whether anything was built correctly, UAT helps to determine if the product is acceptable and fit for the purpose.
In this article, we will try to perform a UAT directly in a production environment using some automation. One type of User Acceptance Testing is Beta Testing. Beta tests are performed either in a beta version of a product or as a test user in the same product running in a production environment alongside any other users. This helps in minimalizing the risks of product failures and enables customer validation.
Example Code
This article is accompanied by a working code example on GitHub.Why should we Perform Beta Tests in Production?
We discuss testing in production a lot. Testing in production does not imply releasing code without tests and crossing one’s fingers. Instead, it refers to the capacity to test actual features with real data in a real environment using real people.
Feature flags give developers, QA teams and UAT teams the freedom to test features in a genuine production environment before making them available to the rest of their user base. There is no impact on other users and no need to perform a complete rollback when a QA or UAT tester finds a bug.
Now, since the tester is going to use the same environment along with other users, it must find a way to test the newly added features before enabling them for the rest of the users. They would also need to create a separate profile and enable those features when they start the manual or automation tests.
That’s where the real strength of feature flags lies. Continuously delivering features to production without releasing them to the public gives a confidence boost to the whole development team because features can be tested in production.
Some of the important advantages of performing beta tests are:
- Even before the product is released, it provides quick feedback on the product, which helps to raise its quality and increase consumer satisfaction.
- The application can be tested for dependability, usability, and robustness, and testers can provide feedback and suggestions to developers to help them make improvements that will better fulfill consumer needs.
- Based on recommendations made by the testers, who are the actual users, it assists various organizational teams in making well-informed judgments about a product.
- Since the product is tested by actual users in a production environment, it provides an accurate insight into what customers like and dislike about it.
- It helps to address software bugs that might not have been addressed or missed during any testing cycles.
- It reduces the probability of a product failing because it has previously been tested before going into production.
Feature Flags in Automated User Acceptance Tests
However, using feature flags while performing traditional automated integration testing may be difficult. We need to know the state of any feature flags and may even need to enable or disable a feature flag for a given test.
Consider that a new build has been released and deployed to the production environment. Now a QA tester has to test the existing old functionalities and verify if the new functionalities added over the existing ones are properly load-tested. In a conventional release process, the feature can be released to production and then load-tested right after release. But what if the feature doesn’t work? We have to roll quickly roll back before the users have been impacted too much.
Here feature flags play a big role. Instead of deploying the builds with all the new features activated, we can deploy those features under a (disabled) feature flag even before it’s completely tested. Now we might need to write automation tests that would first test the old functionality and then enable the flags to bring in the new functionalities on top of it. All of this has to be dynamic and it should be executed on the same page with some waiting period in between to observe any kind of glitch. We should also be able to take snapshots at each stage for reporting.
This is where Cypress can be quite useful. Cypress automation testing lets us change the code and execute the same on the fly. This would simulate the exact scenario of how a user would see the changes in the application. Cypress also has a built-in wait for requests so that we don’t need to configure wait times manually. This auto-wait feature also helps Cypress tests to be less flaky.
Now if there are any issues observed due to those new functionalities, we can easily roll back to the old version by simply disabling the feature flag. This helps us in quick turn-around. With a feature management platform like LaunchDarkly, we can also just enable the features for a test user that we use only for the automated tests so that the real users will not be impacted at all by a potentially broken new feature.
Brief Introduction to LaunchDarkly and its Features
LaunchDarkly is a feature management service that takes care of all the feature flagging concepts. The name is derived from the concept of a “dark launch”, which deploys a feature in a deactivated state and activates it when the time is right.

LaunchDarkly is a cloud-based service and provides a UI to manage everything about our feature flags. For each flag, we need to define one or more variations. The variation can be a boolean, an arbitrary number, a string value, or a JSON snippet.
We can define targeting rules to define which variation a feature flag will show to its user. By default, a targeting rule for a feature flag is deactivated. The simplest targeting rule is “show variation X for all users”. A more complex targeting rule is “show variation A for all users with attribute X, variation B for all users with attribute Y, and variation C for all other users”.
We can use the LaunchDarkly SDK in our code to access the feature flag variations. It provides a persistent connection to LaunchDarkly’s streaming infrastructure to receive server-sent-events (SSE) whenever there is a change in a feature flag. If the connection fails for some reason, it falls back to default values.
Create a Simple React Application
In this article, we will focus on covering UAT test cases for a React UI. For this, we will define a pretty simple React application and focus primarily on writing different test cases with feature flags. To demonstrate such power to control the feature flags from Cypress tests, we will just grab an existing copy of LaunchDarkly’s example React application.
We can clone and create our copy using the command:
npx degit launchdarkly/react-client-sdk/examples/hoc react-cypress-launchdarkly-feature-flag-test
We are using the degit command to copy the repo to our local directory.
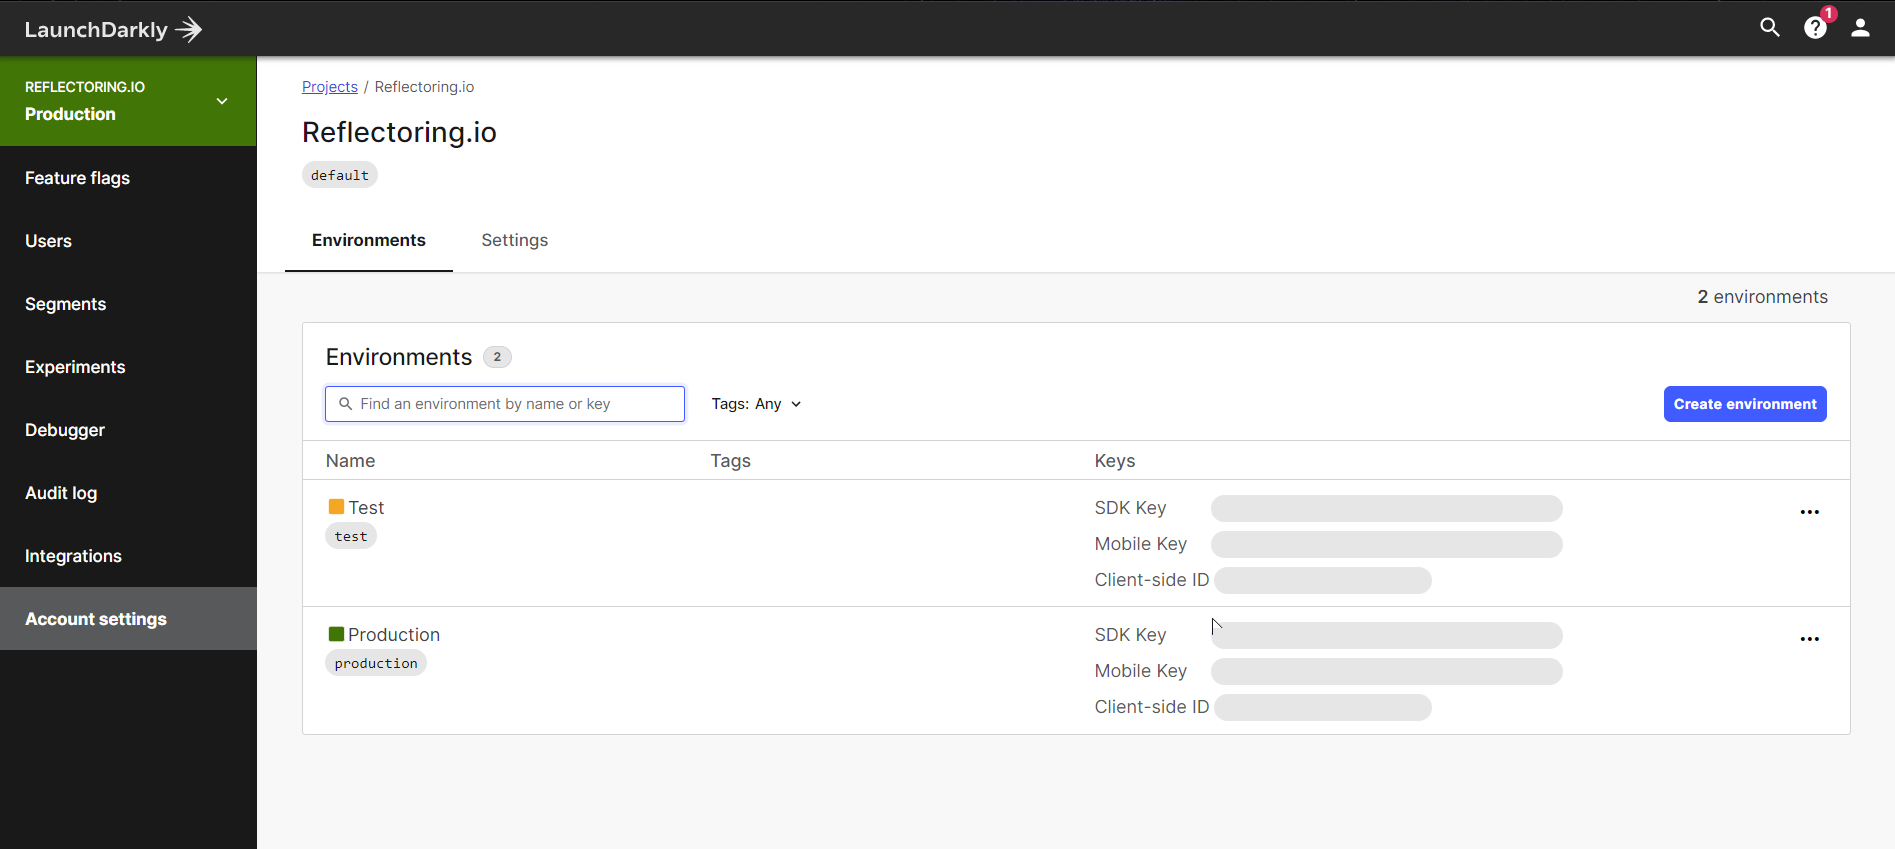
We will first create a new LaunchDarkly project named “Reflectoring.io” and define two environments. We will now use a “Production” environment.
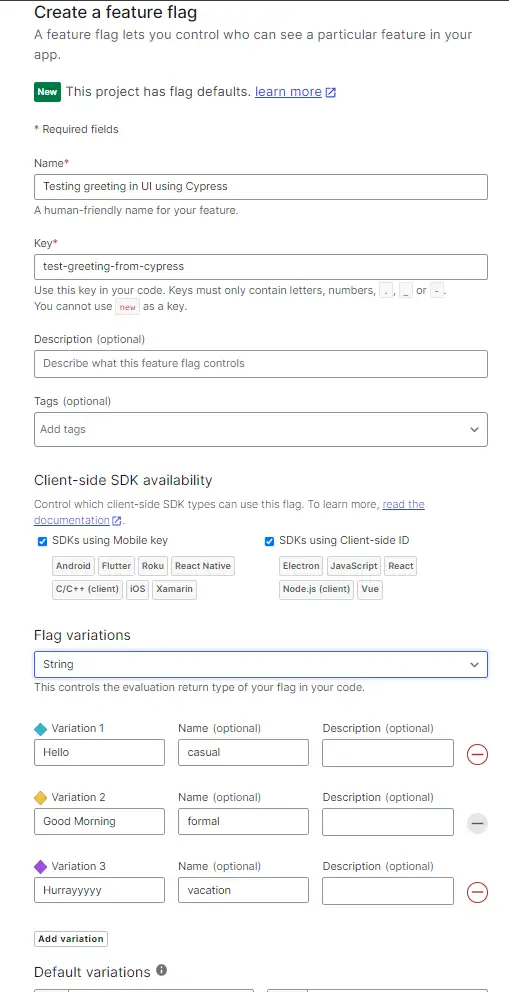
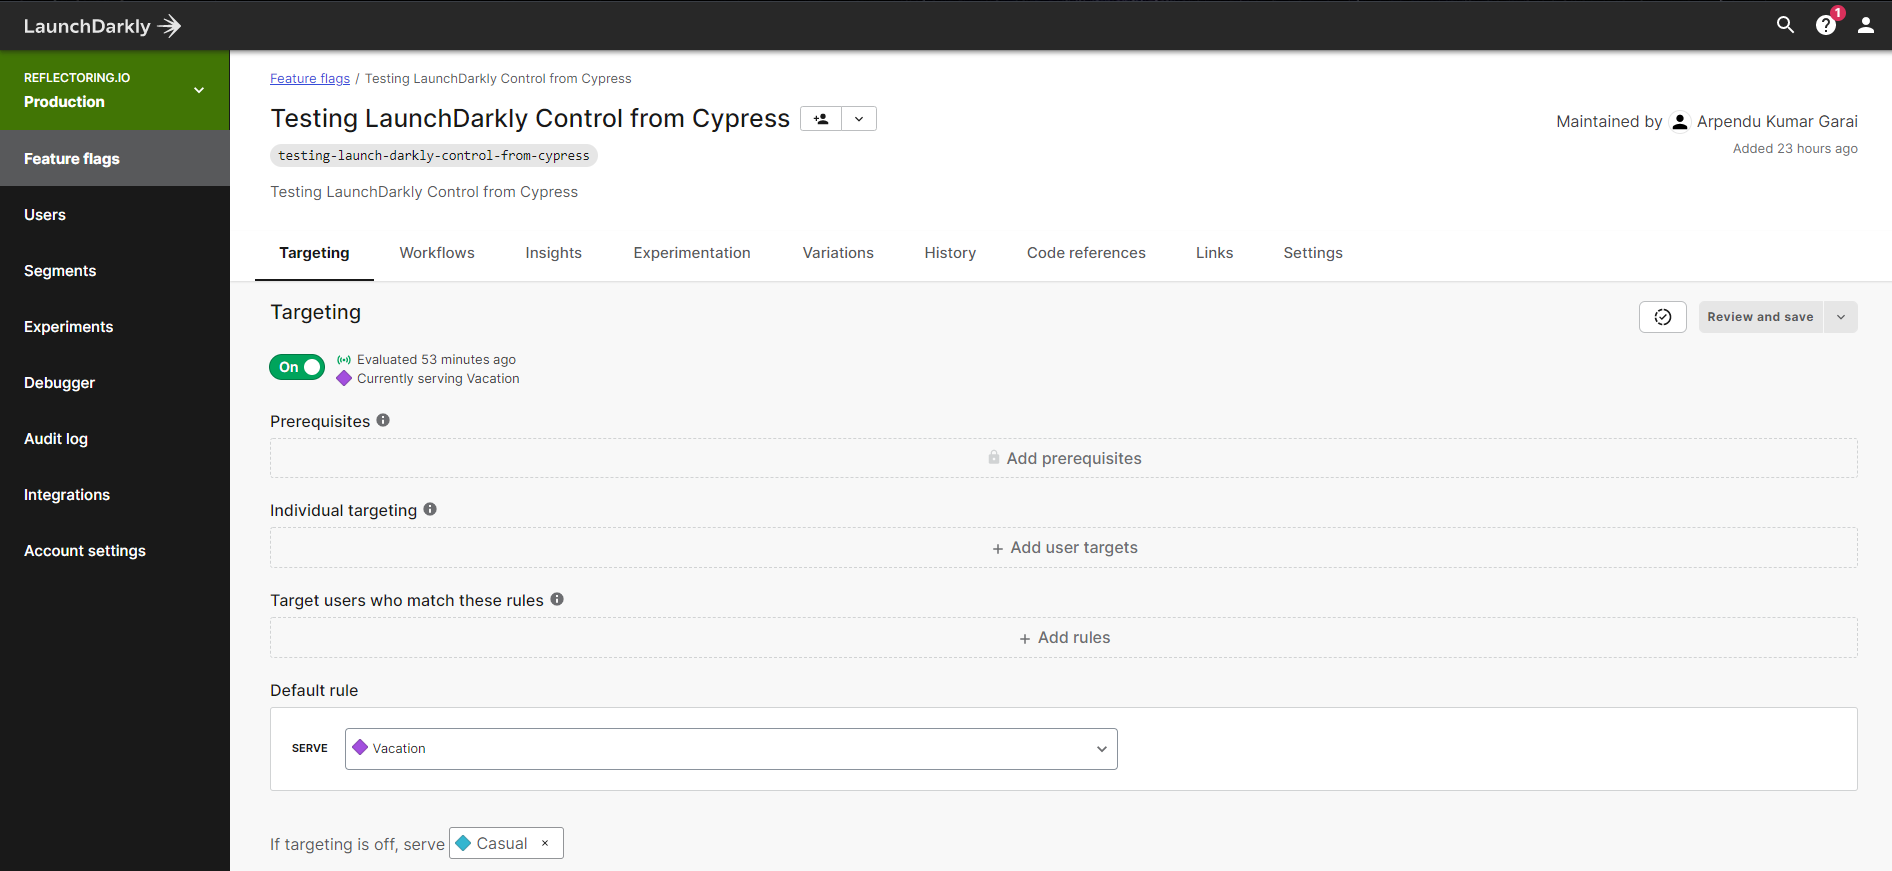
Then we will define a new String feature flag test-greeting-from-cypress with three variations.
Now, since we want to test different flags for different users, we will also switch on the “Targeting” option.
Now we will update our code to define the Client SDK ID and show the current greeting using the feature flag value. This can be changed in app.js:
import React from 'react';
import { Switch, Route, Redirect } from 'react-router-dom';
import { withLDProvider } from 'launchdarkly-react-client-sdk';
import SiteNav from './siteNav';
import Home from './home';
import HooksDemo from './hooksDemo';

const App = () => (
  <div>
    <SiteNav />
    <main>
      <Switch>
        <Route exact path="/" component={Home} />
        <Route path="/home">
          <Redirect to="/" />
        </Route>
        <Route path="/hooks" component={HooksDemo} />
      </Switch>
    </main>
  </div>
);

// Set clientSideID to your own Client-side ID. You can find this in
// your LaunchDarkly portal under Account settings / Projects
// https://docs.launchdarkly.com/sdk/client-side/javascript#initializing-the-client
const user = {
  key: 'CYPRESS_TEST_1234'
};
export default withLDProvider({ clientSideID: '63**********************', user })(App);
Then the Home page would simply use the value of the flag to show the greeting:
import React from 'react';
import PropTypes from 'prop-types';
import styled from 'styled-components';
import { withLDConsumer } from 'launchdarkly-react-client-sdk';
const Root = styled.div`
color: #001b44;
`;
const Heading = styled.h1`
color: #00449e;
`;
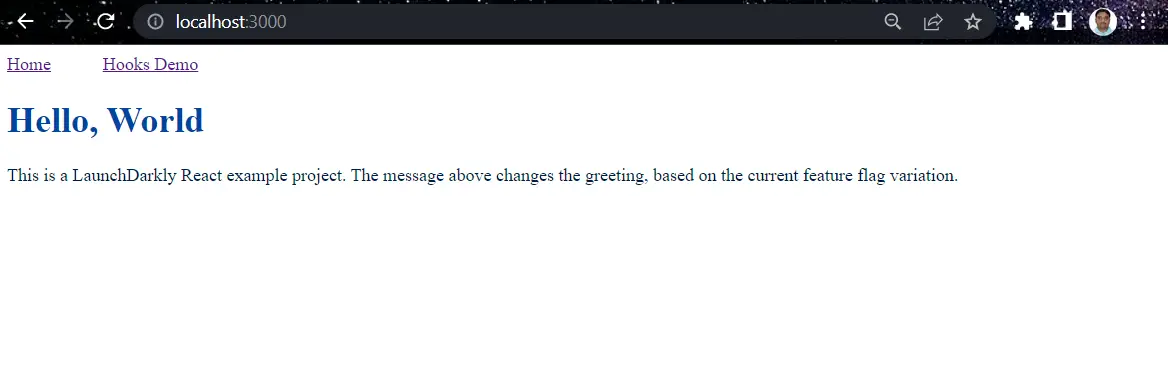
const Home = ({ flags }) => (
<Root>
<Heading>{flags.testGreetingFromCypress}, World !!</Heading>
<div>
This is a LaunchDarkly React example project. The message above changes the greeting,
based on the current feature flag variation.
</div>
</Root>
);
Home.propTypes = {
flags: PropTypes.object.isRequired,
};
export default withLDConsumer()(Home);
Now when we start our application using the following command we see the following UI:
npm start
Setting up Cypress Tests
A breakthrough front-end testing framework called Cypress makes it simple to create effective and adaptable tests for your online apps. With features like simple test configuration, practical reporting, an appealing dashboard interface, and a lot more, it makes it possible to perform advanced testing for both unit tests and integration tests.
The main benefit of Cypress is that it is created in JavaScript, the most-used language for front-end web development. Since it was first made available to the public, it has gained a sizable following among developers and QA engineers (about 32K GitHub stars).
Cypress is an open-source testing framework based on JavaScript that supports web application testing. Contrary to Selenium, Cypress does not require driver binaries to function fully on a real browser. The shared platform between the automated code and the application code provides total control over the application being tested.
To execute the application and test code in the same event loop, Cypress operates on a NodeJS server that connects with the test runner (Browser). This in turn allows the Cypress code to mock and even change the JavaScript object on the fly. This is one of the primary reasons why Cypress tests are expected to execute faster than corresponding Selenium tests.
To start writing our tests, let’s start by installing Cypress test runner:
npm install --save-dev cypress
Setting up the LaunchDarkly Plugin
Now we would be mostly testing user-targeted features that would be behind feature flags. We would hold the user’s identity in the client session and send the user identity to the LaunchDarkly server to query for the state of a feature flag.
To get the state of a feature flag, we need to make HTTP calls. Although making HTTP requests from Node and Cypress is simple, LaunchDarkly uses a higher-level logic that makes it a bit more complicated than just using a simple HTTP client.
To reduce the complexity, we can use the abstraction provided by a plugin called cypress-ld-control that Cypress tests can utilize. Let’s put this plugin in place and use it:
npm install --save-dev cypress-ld-control
To use this plugin, we need to understand some of the functions defined by their API and how we can add them as part of the cypress tasks:
-
getFeatureFlag:Returns a particular value for a defined feature flag:
cy.task('cypress-ld-control:getFeatureFlag', 'my-flag-key').then(flag => {...}) -
setFeatureFlagForUser:This uses the user-level targeting feature to set a flag for a given user:
cy.task('cypress-ld-control:setFeatureFlagForUser', { featureFlagKey: 'my-flag-key', userId: 'string user id', variationIndex: 1 // must be index to one of the variations }) -
removeUserTarget:This removes the user target that we have set in the above function:
cy.task('cypress-ld-control:removeUserTarget', { featureFlagKey, userId })
As we can see that every task is prefixed with cypress-ld-control: string and every command takes zero or a single options object as an argument. Finally, every command returns either an object or a null, but never undefined.
Define Cypress Tasks
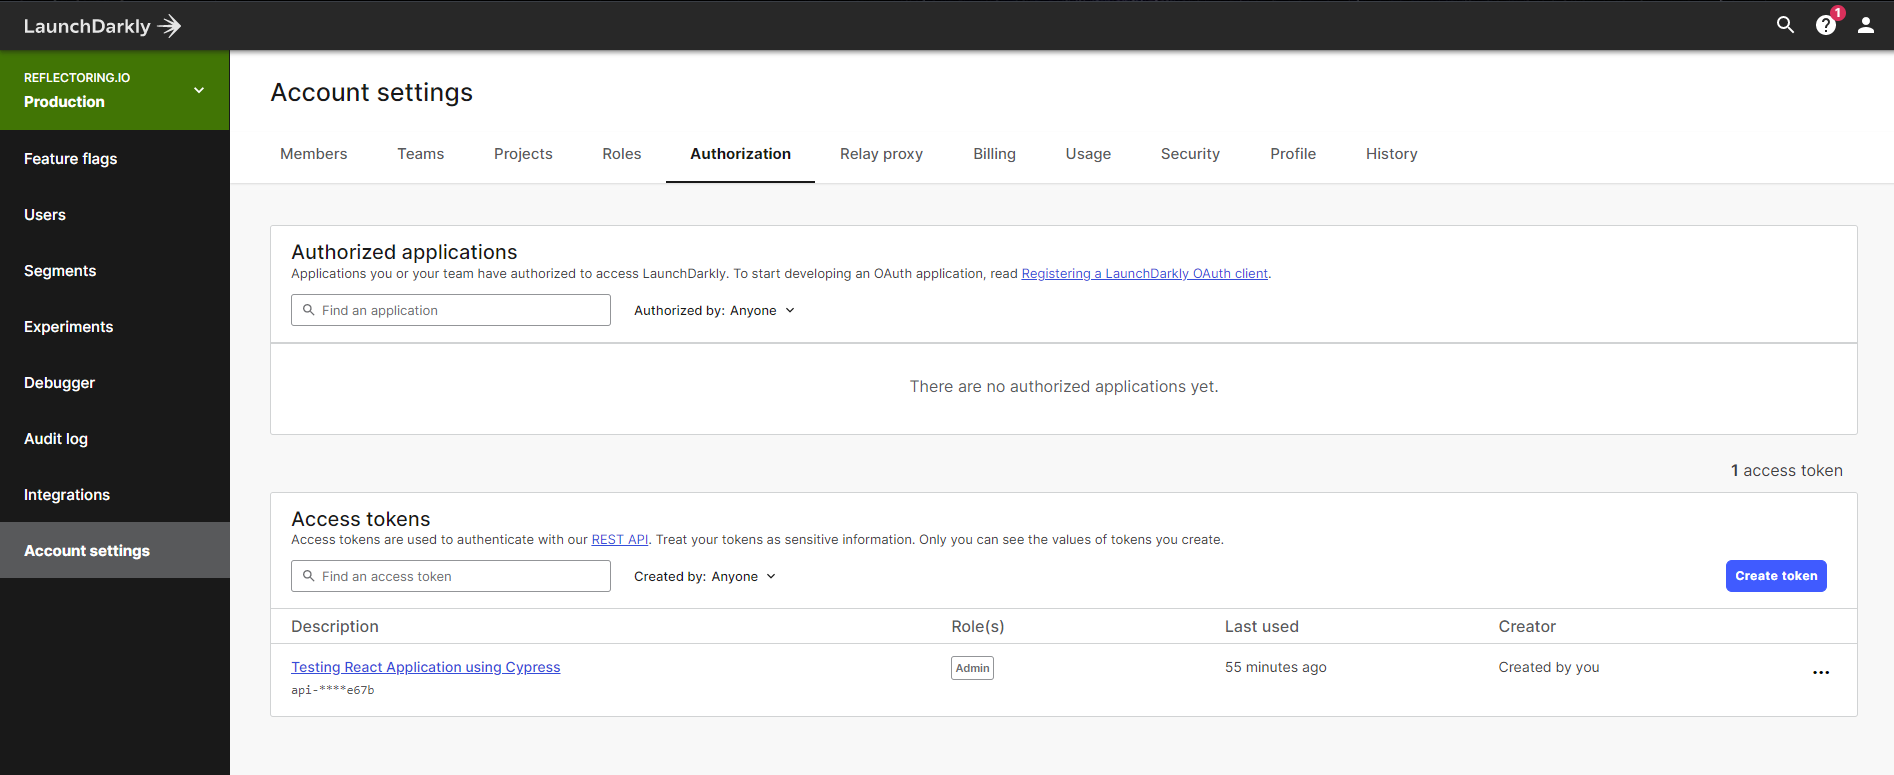
To change the values of the feature flags and individual user targets, we need to first generate an access token in LaunchDarkly UI.
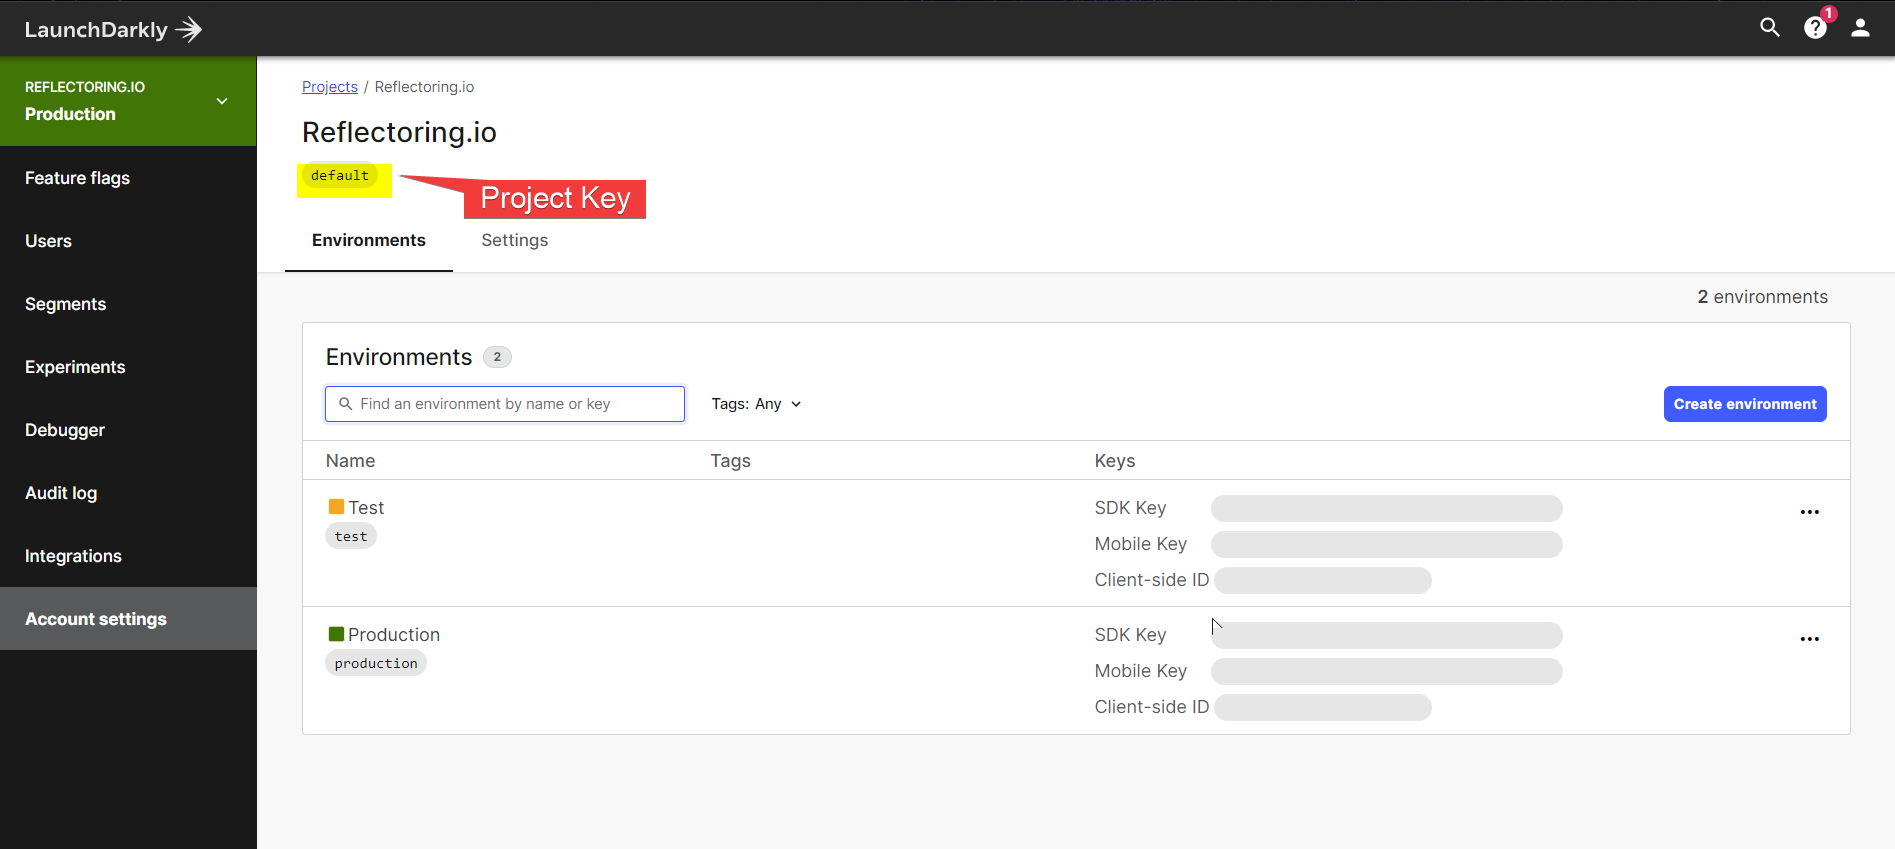
Then we can note the Project key from the Projects page under Account Settings.
Next, we can load the plugin with environment variables:
const { initLaunchDarklyApiTasks } = require('cypress-ld-control');
require('dotenv').config();
module.exports = (on, config) => {
  const tasks = {
    // add your other Cypress tasks if any
  }

  if (
    process.env.LAUNCH_DARKLY_PROJECT_KEY &&
    process.env.LAUNCH_DARKLY_AUTH_TOKEN
  ) {
    const ldApiTasks = initLaunchDarklyApiTasks({
      projectKey: process.env.LAUNCH_DARKLY_PROJECT_KEY,
      authToken: process.env.LAUNCH_DARKLY_AUTH_TOKEN,
      environment: 'production', // the name of your environment to use
    })
    // copy all LaunchDarkly methods as individual tasks
    Object.assign(tasks, ldApiTasks)
    // set an environment variable for specs to use
    // to check if the LaunchDarkly can be controlled
    config.env.launchDarklyApiAvailable = true
  } else {
    console.log('Skipping cypress-ld-control plugin')
  }

  // register all tasks with Cypress
  on('task', tasks)

  // IMPORTANT: return the updated config object
  return config
}
Test Greetings
Next, we can start writing our Cypress tasks using cy.task() function. So consider if the test is to see a casual greeting header, we can simply write:
before(() => {
  expect(Cypress.env('launchDarklyApiAvailable'), 'LaunchDarkly').to.be.true
})

const featureFlagKey = 'testing-launch-darkly-control-from-cypress'
const userId = 'USER_1234'

it('shows a casual greeting', () => {
  // target the given user to receive the first variation of the feature flag
  cy.task('cypress-ld-control:setFeatureFlagForUser', {
    featureFlagKey,
    userId,
    variationIndex: 0,
  })
  cy.visit('/')
  cy.contains('h1', 'Hello, World !!').should('be.visible')
});
Then we can run our tests by defining a script in package.json as follows:
"scripts": {
    "start": "node src/server/index.js",
    "test": "start-test 3000 'cypress open'"
  }
Then we can simply execute:
npm run test
Next, we can define a few more variations and cover some more test cases as follows:
/// <reference types="cypress" />
before(() => {
expect(Cypress.env('launchDarklyApiAvailable'), 'LaunchDarkly').to.be.true
});
const featureFlagKey = 'test-greeting-from-cypress';
const userId = 'CYPRESS_TEST_1234';
it('shows a casual greeting', () => {
// target the given user to receive the first variation of the feature flag
cy.task('cypress-ld-control:setFeatureFlagForUser', {
featureFlagKey,
userId,
variationIndex: 0,
})
cy.visit('/')
cy.contains('h1', 'Hello, World !!').should('be.visible')
});
it('shows a formal greeting', () => {
cy.task('cypress-ld-control:setFeatureFlagForUser', {
featureFlagKey,
userId,
variationIndex: 1,
})
cy.visit('/')
cy.contains('h1', 'Good Morning, World !!').should('be.visible')
});
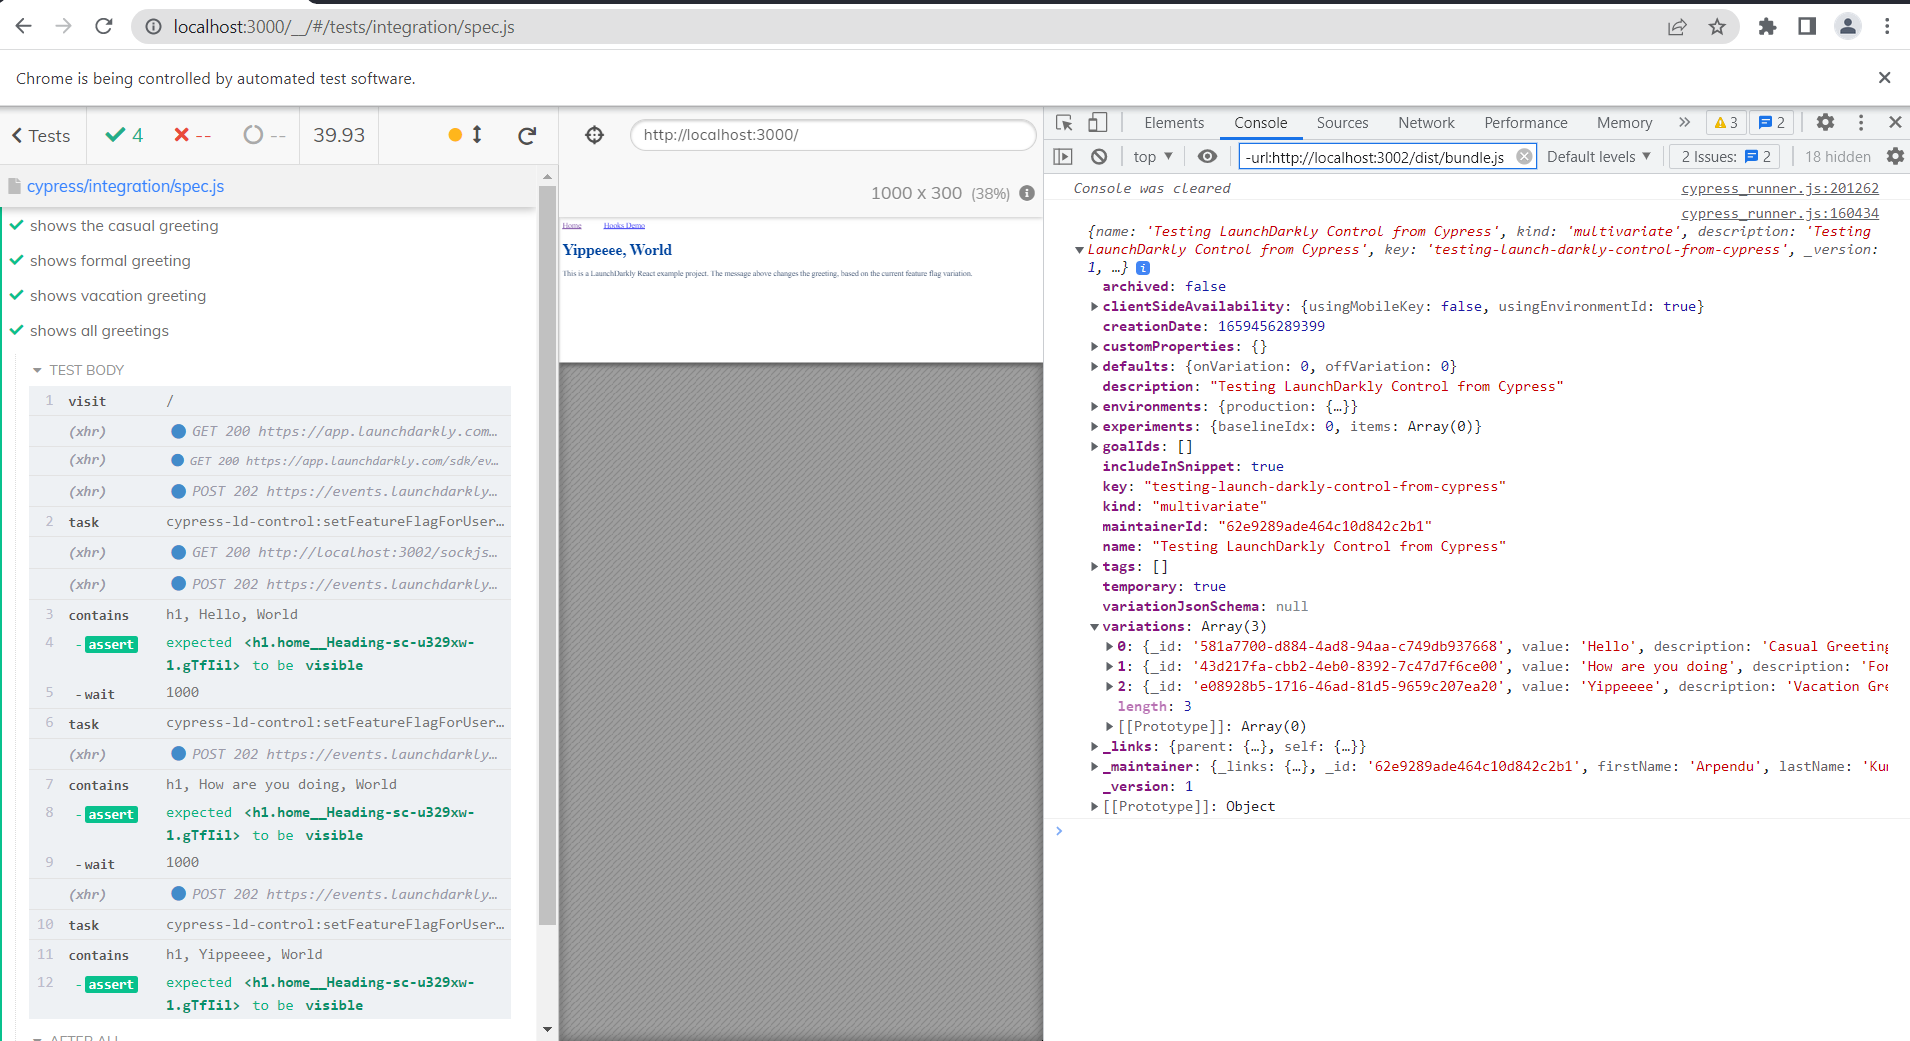
it('shows a vacation greeting', () => {
cy.task('cypress-ld-control:setFeatureFlagForUser', {
featureFlagKey,
userId,
variationIndex: 2,
})
cy.visit('/')
cy.contains('h1', 'Hurrayyyyy, World').should('be.visible')
// print the current state of the feature flag and its variations
cy.task('cypress-ld-control:getFeatureFlag', featureFlagKey)
.then(console.log)
// let's print the variations to the Command Log side panel
.its('variations')
.then((variations) => {
variations.forEach((v, k) => {
cy.log(`${k}: ${v.name} is ${v.value}`)
})
})
});
it('shows all greetings', () => {
cy.visit('/')
cy.task('cypress-ld-control:setFeatureFlagForUser', {
featureFlagKey,
userId,
variationIndex: 0,
})
cy.contains('h1', 'Hello, World !!')
.should('be.visible')
.wait(1000)
cy.task('cypress-ld-control:setFeatureFlagForUser', {
featureFlagKey,
userId,
variationIndex: 1,
})
cy.contains('h1', 'Good Morning, World !!').should('be.visible').wait(1000)
cy.task('cypress-ld-control:setFeatureFlagForUser', {
featureFlagKey,
userId,
variationIndex: 2,
})
cy.contains('h1', 'Hurrayyyyy, World !!').should('be.visible')
});
after(() => {
cy.task('cypress-ld-control:removeUserTarget', { featureFlagKey, userId })
});
We are also defining a task at the end to remove any user targets being created as part of this task. Finally, we can see all the test output being populated in the Cypress dashboard UI. We can launch the Cypress UI and click on the “Run” option, where we can see all the task execution with variations being printed.
If you notice, as discussed above, we are testing the feature behind a feature flag with different variations. We are updating the flag value dynamically and then execute our tests on the fly. Cypress also runs these tests with a default built-in wait period. However, if we would like to add validations we can add a dynamic wait period to observe the changes in the UI.
Testing a User-targeted Feature
In our previous article, we had represented a button in UI which would be populated based on the logged-in user. We can add the same button here and add test cases using Cypress to cover the functionality of clicking the button and validating the popup alert.
For this, we will update our home page logic:
const theme = {
  blue: {
    default: "#3f51b5",
    hover: "#283593"
  }
};

const Button = styled.button`
    background-color: ${(props) => theme[props.theme].default};
    color: white;
    padding: 5px 15px;
    border-radius: 5px;
    outline: 0;
    text-transform: uppercase;
    margin: 10px 0px;
    cursor: pointer;
    box-shadow: 0px 2px 2px lightgray;
    transition: ease background-color 250ms;
    &:hover {
      background-color: ${(props) => theme[props.theme].hover};
    }
    &:disabled {
      cursor: default;
      opacity: 0.7;
    }
  `;

const clickMe = () => {
  alert("A new shiny feature pops up!");
};

const Home = ({ flags }) => (
  <Root>
    <Heading>{flags.testGreetingFromCypress}, World !!</Heading>
    <div>
      This is a LaunchDarkly React example project. The message above changes the greeting,
      based on the current feature flag variation.
    </div>
    <div>
    {flags.showShinyNewFeature ?
      <Button id='shiny-button' theme='blue' onClick={clickMe}>Shiny New Feature</Button>: ''}
    </div>
    <div>
      {flags.showShinyNewFeature ? 'This button will show new shiny feature in UI on clicking it.': ''}
    </div>
  </Root>
);
Now the user attribute in app.js needs to be updated to “John Doe”. Thus, when John logs in, he will see the shiny new button, whereas others won’t.
const user = {
  key: 'john_doe'
};
Similarly, we will add a task in the existing cypress test spec to validate the click event of a button and its outcome alert of the popup:
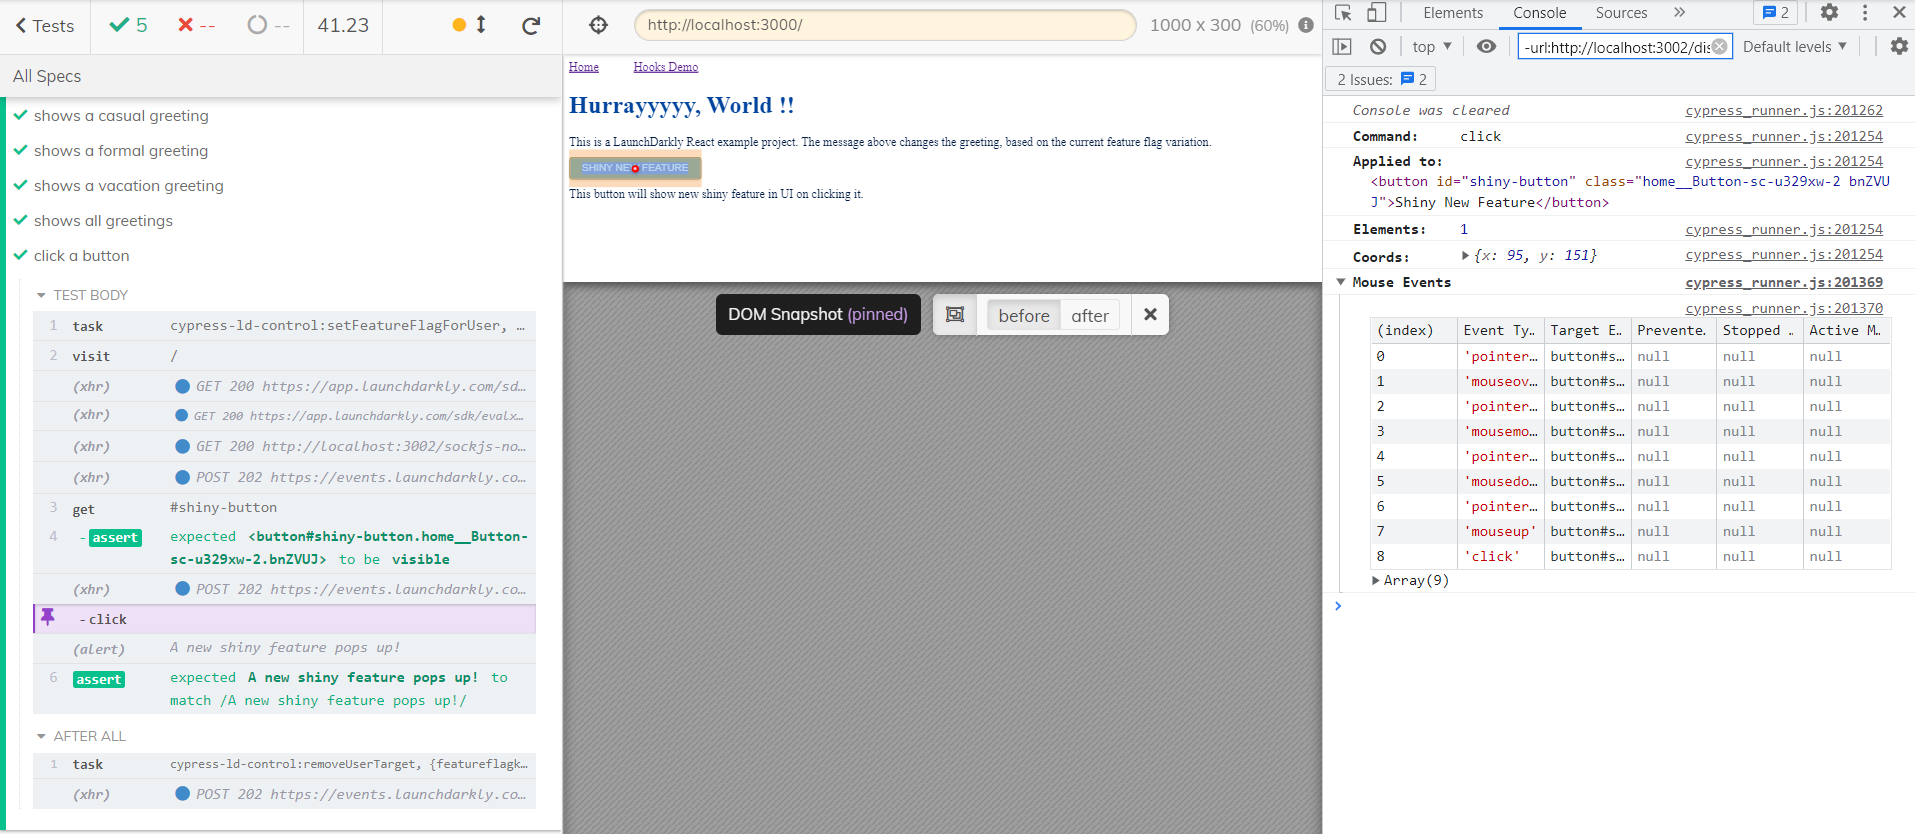
it('click a button', () => {
  cy.task('cypress-ld-control:setFeatureFlagForUser', {
    featureFlagKey: 'show-shiny-new-feature',
    userId: 'john_doe',
    variationIndex: 0,
  })
  cy.visit('/');
  var alerted = false;
  cy.on('window:alert', msg => alerted = msg);

  cy.get('#shiny-button').should('be.visible').click().then(
    () => expect(alerted).to.match(/A new shiny feature pops up!/));
});
As discussed above, this section helps in updating the flag value and executing our tests on the fly. Finally, we can see all the test output being populated in Cypress UI dashboard. We can launch the Cypress UI and click on “Run” option, where we can see all the task execution with variations being printed.
Deploy Tests in CI
Next, we can use GitHub Actions to run the same tests in CI. The workflows provided by CI using GitHub Actions allow us to create the code in our repository and run our tests. Workflows can run on virtual machines hosted by GitHub or on our servers. Using the repository dispatch webhook, we may set up our CI workflow to launch whenever a GitHub event takes place (for instance, if new code is pushed to your repository), on a predetermined timetable, or in response to an outside event.
For us to determine whether the change in our branch produces an error, GitHub executes our CI tests and includes the results of each test in the pull request. The changes we pushed are prepared to be evaluated by a team member or merged once all CI tests in a workflow pass. If a test fails, then we can easily get to know that one of our changes may have caused the failure.
We will use cypress-io/GitHub-action to install the dependencies, cache Cypress, start the application, and run the tests. We can define the environment variables in the repo and then use them.
We can then define a yaml configuration to run our CI tests:
name: ci
on: push
jobs:
test:
runs-on: ubuntu-20.04
steps:
- name: Checkout 🛎
uses: actions/checkout@v2
- name: Run tests 🧪
# https://github.com/cypress-io/github-action
uses: cypress-io/github-action@v3
with:
start: 'yarn start'
env:
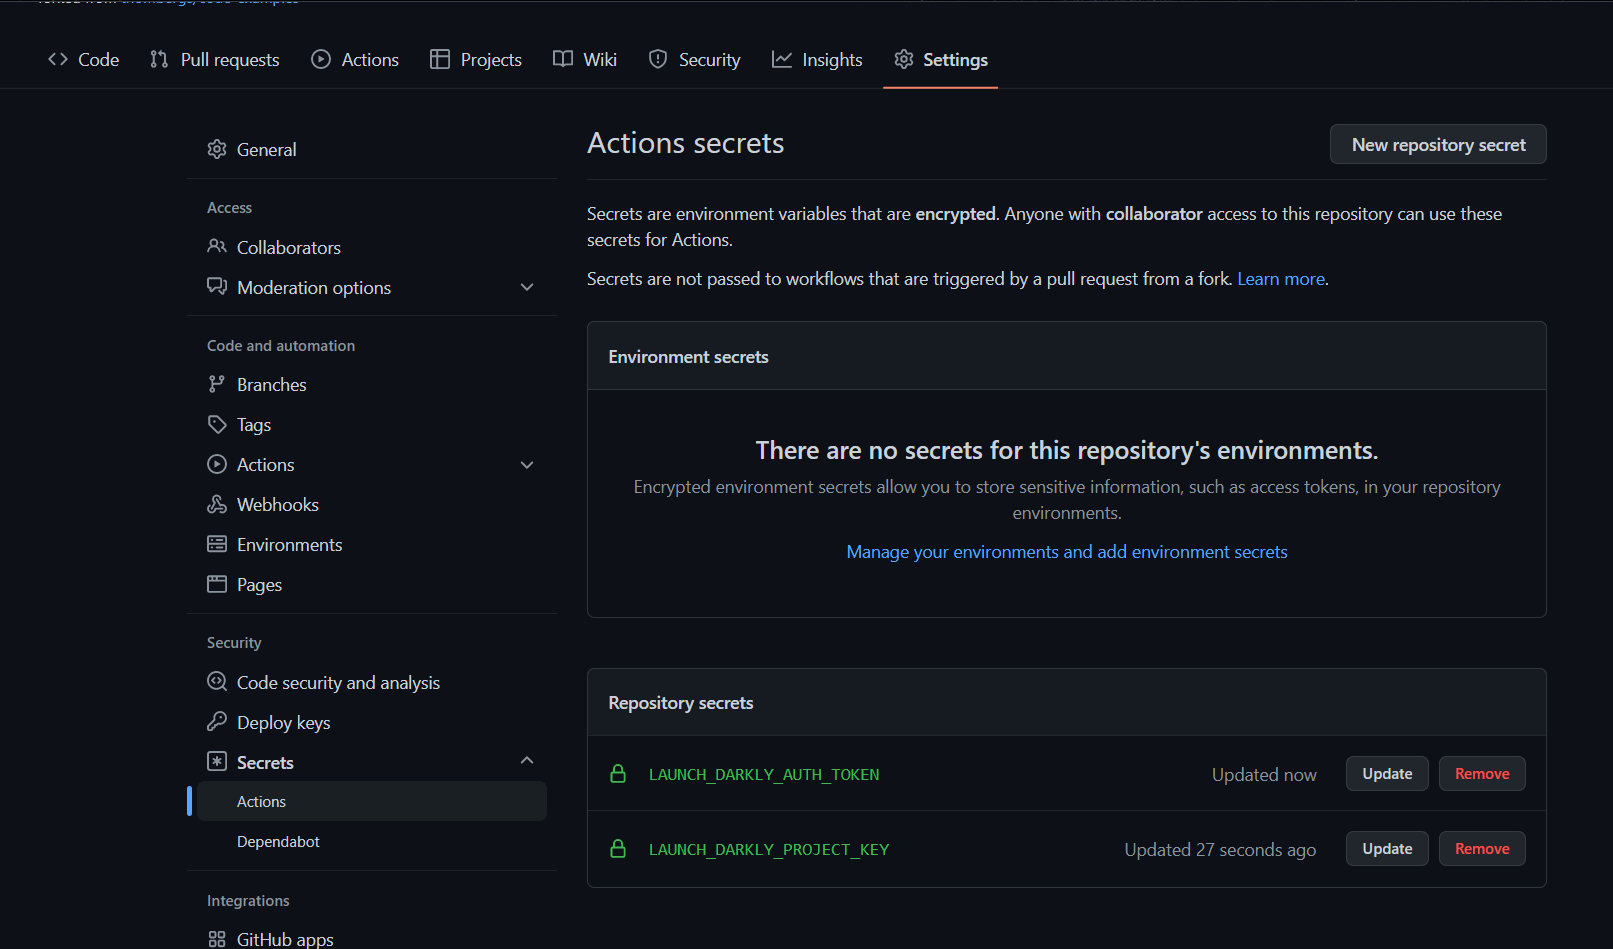
LAUNCH_DARKLY_PROJECT_KEY: ${{ secrets.LAUNCH_DARKLY_PROJECT_KEY }}
LAUNCH_DARKLY_AUTH_TOKEN: ${{ secrets.LAUNCH_DARKLY_AUTH_TOKEN }}
Conclusion
As part of this article, we discussed how we can define conditional Cypress tests based on feature flags. We also made use of cypress-ld-control to set and remove flags for certain users. We have also used the LaunchDarkly client instance in Cypress tests to read the flag value for specific users. We also saw how these features support the two primary test techniques of conditional execution and controlled flag. In this blog post, we mainly saw how we can target features using individual user IDs.
Feature flags are frequently seen as either a tool for product managers or engineers. In actuality, it’s both. Flags can help product managers better manage releases by synchronizing launch timings and enhancing the effectiveness of the feedback loop. DevOps and software development teams can benefit from their ability to cut costs and increase productivity.
You can refer to all the source code used in the article on Github.