Amazon CloudFront is a fast content delivery network (CDN) service that securely delivers data, videos, applications, and APIs to customers globally with low latency. A content delivery network consists of a globally-distributed network of servers that can cache static content, like images, media, stylesheets, JavaScript files, etc, or other bulky media, in locations close to consumers. This helps in improving the downloading speed of these static contents.
In this tutorial, we will store the contents of a Single page application (SPA) in an S3 bucket and configure CloudFront to deliver this application globally.
Content Distribution through CloudFront
CloudFront delivers all content through a network of data centers called edge locations. Edge locations are also known as Points of Presence (POP) which are part of AWS’s global network infrastructure and are usually deployed in major cities and highly populated areas across the globe.
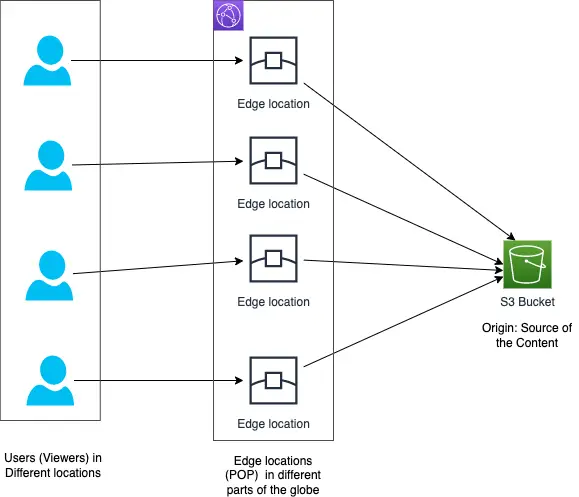
Whenever a viewer requests content that we are serving with CloudFront, the request is routed to the edge location which is closest to the user that provides the lowest latency. This results in content being delivered to the viewer with the best possible performance.
If the content is already in the edge location with the lowest latency, CloudFront delivers it immediately. If the content is not in that edge location, CloudFront retrieves it from an origin configured by us like an S3 bucket, or an HTTP server.
We create a CloudFront distribution to tell CloudFront where we want the content to be delivered from. We define origin servers, like an Amazon S3 bucket where we upload our files like HTML pages, images, media files, etc.
When the distribution is deployed, CloudFront assigns a domain name to the distribution and sends our distribution’s configuration to all the edge locations or points of presence (POPs).
Creating a Single Page Application as Static Content
For our example, we will create some static content by packaging a barebones Single Page Application (SPA) which will contain JavaScript, HTML, images, and stylesheets. We will then serve this application from CloudFront.
We can create a Single Page Application with one of the many frameworks available like Angular, React, Vue, etc. Let us create a SPA with the React framework by running the following npm command:
npx create-react-app mystore
Running this command bootstraps a react project under a folder: mystore with the following files in a folder: src.
src
├── App.css
├── App.js
├── App.test.js
├── index.css
├── index.js
├── logo.svg
├── reportWebVitals.js
└── setupTests.js
Let us run this application with the below commands:
cd mystore
npm start
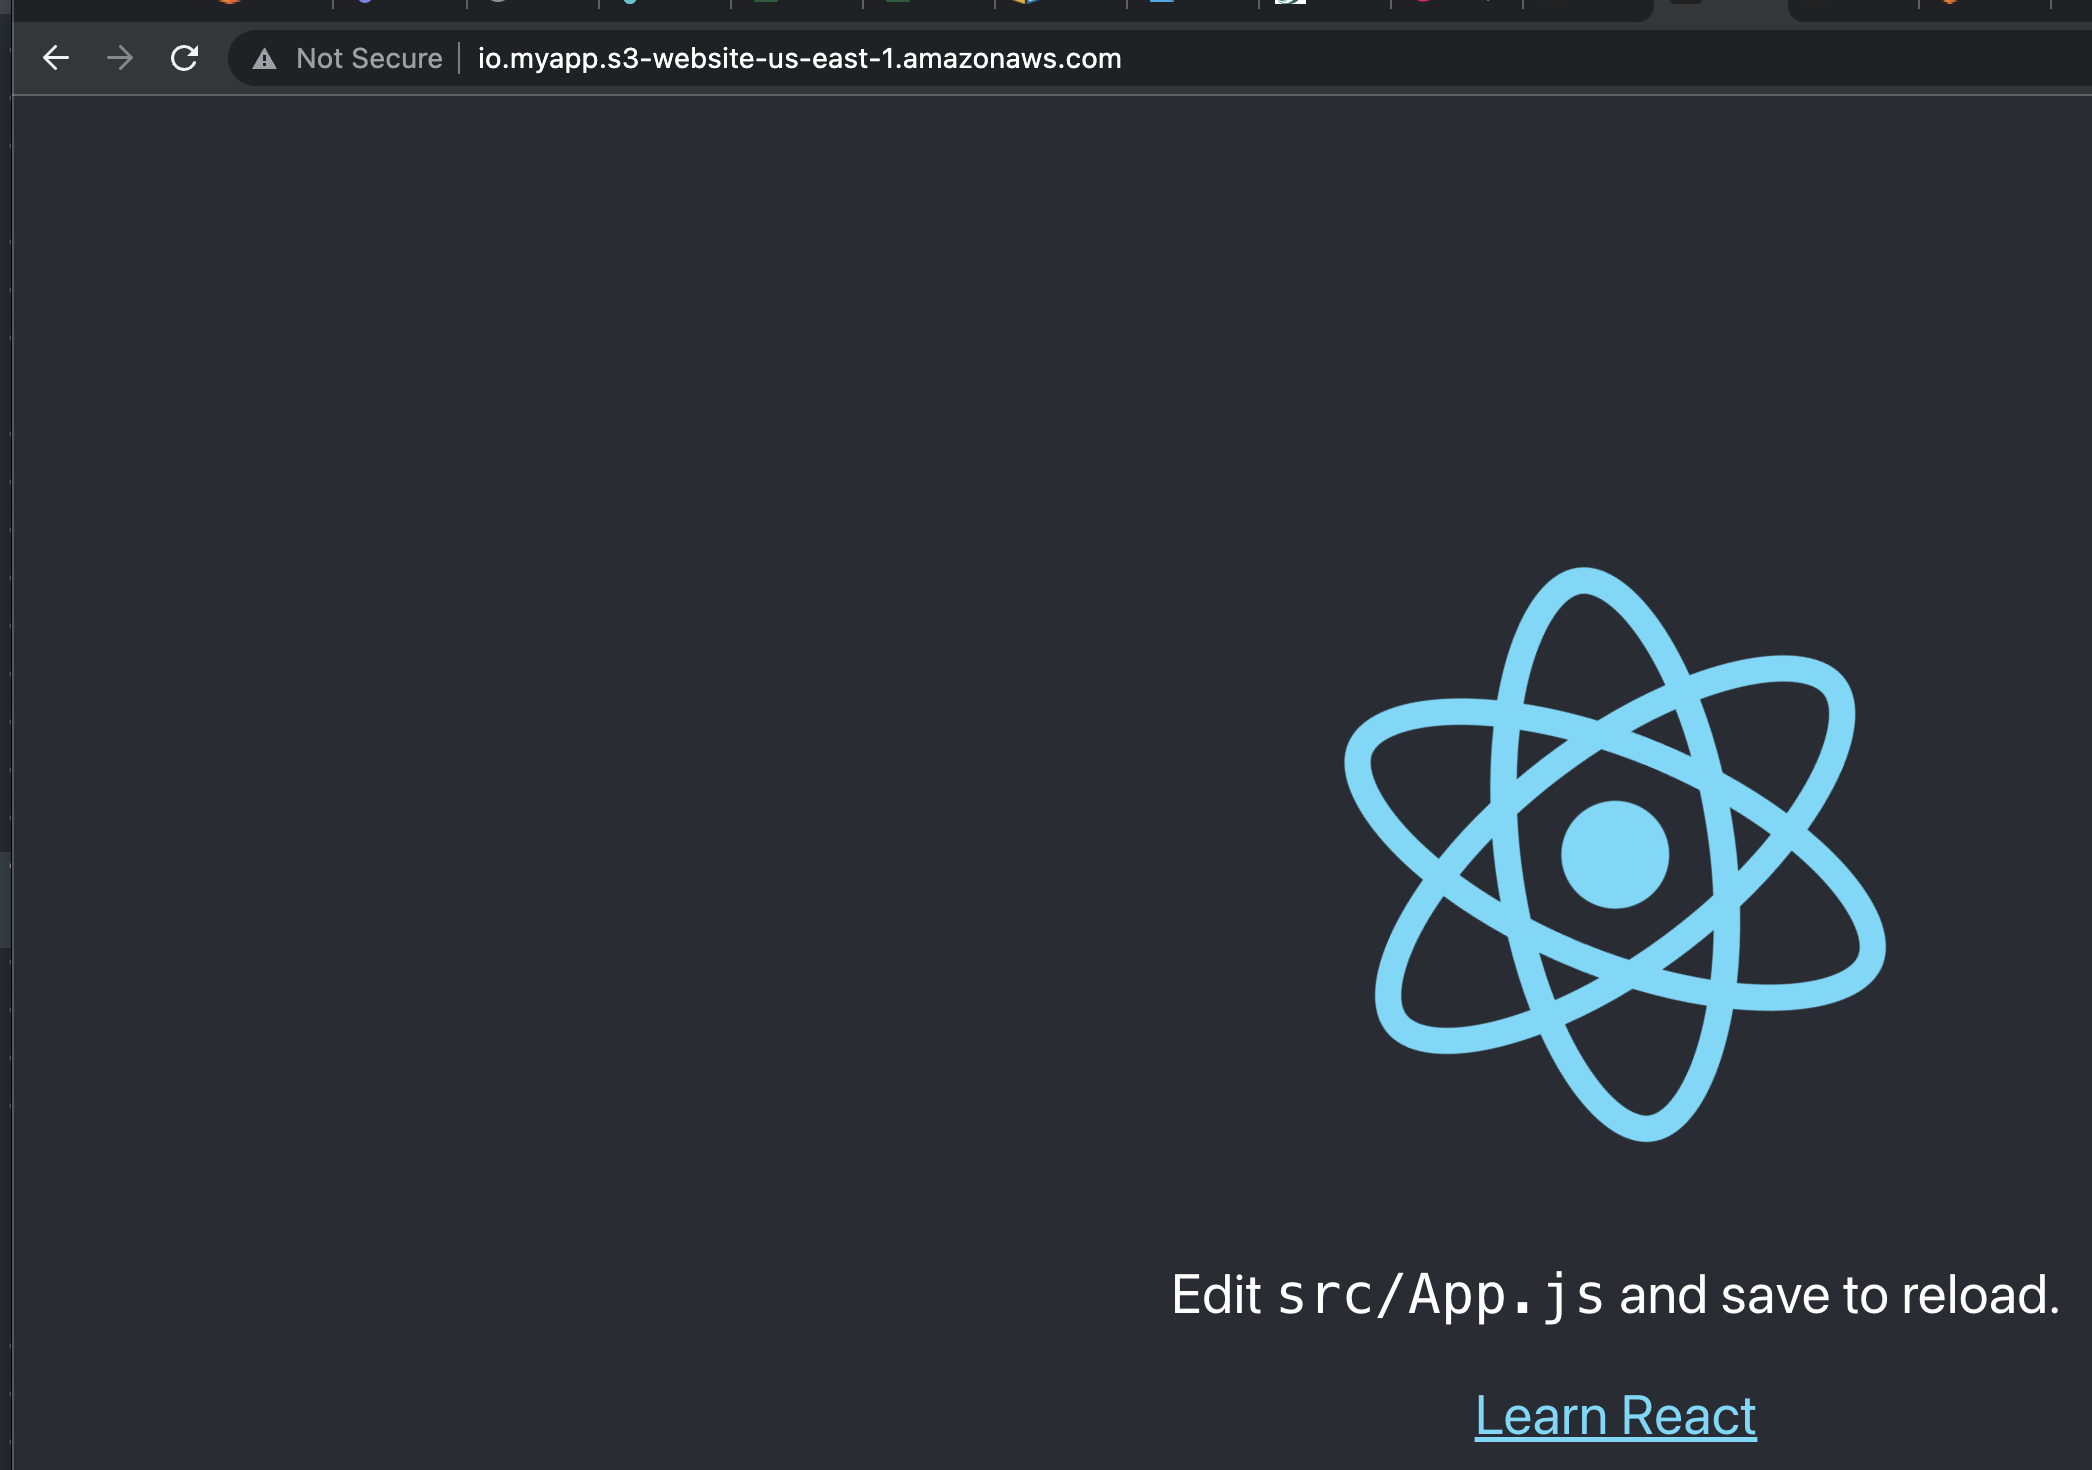
This will launch the default react app in a browser.
We can evolve this application further to build useful features but for this tutorial, we will deploy this React app using CloudFront.
For deployment, we will first build the project by running:
npm build
This will package the application in a build directory with the below contents:
build
├── asset-manifest.json
├── favicon.ico
├── index.html
├── logo192.png
├── logo512.png
├── manifest.json
├── robots.txt
└── static
    ├── css
    │   ├── main.073c9b0a.css
    │   └── main.073c9b0a.css.map
    ├── js
    │   ├── 787.dd20aa60.chunk.js
    │   ├── 787.dd20aa60.chunk.js.map
    │   ├── main.fa9c6efd.js
    │   ├── main.fa9c6efd.js.LICENSE.txt
    │   └── main.fa9c6efd.js.map
    └── media
        └── logo.6ce24c58023cc2f8fd88fe9d219db6c6.svg
These are a set of static files which we can host on any HTTP server for serving our web content. For our example, we will copy these static contents to an S3 bucket as explained in the next section and then render them through CloudFront in a subsequent section.
Hosting the Static Content in an S3 Bucket
Amazon Simple Storage Service (S3) is a service for storing and retrieving any kind of files called objects in S3 parlance.
Buckets are containers for storing objects in S3. We upload files to an S3 bucket where it is stored as an S3 object. We will upload all the files under the build folder to an S3 bucket that was created after building the react project in the previous section.
Creating the S3 Bucket
Let us create the S3 bucket from the AWS administration console.
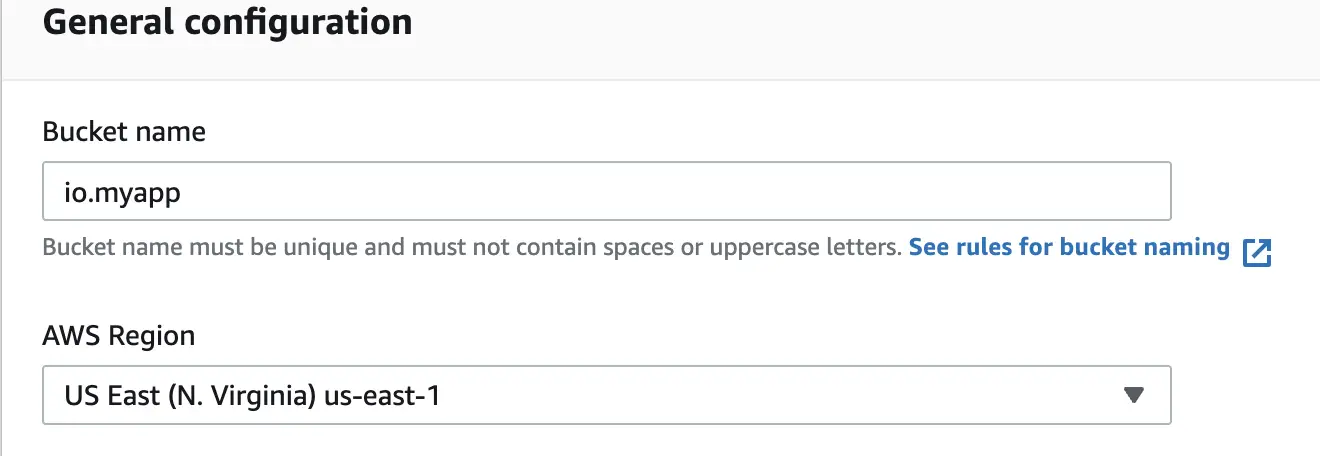
For creating the S3 bucket we are providing a name and selecting the region as us-east where the bucket will be created.
We will allow public access to the bucket by unchecking the checkbox for Block all public access as shown below:

This will allow public access to the S3 bucket which will make the files in the bucket accessible with a public URL over the internet. This is however not a secure practice which we will address in a later section.
Enabling the Static Web Hosting Property on the S3 Bucket
After creating the bucket, we will configure the bucket for hosting web assets by modifying the bucket property for static web hosting:

We will enable the property: static web hosting of the bucket as shown below:
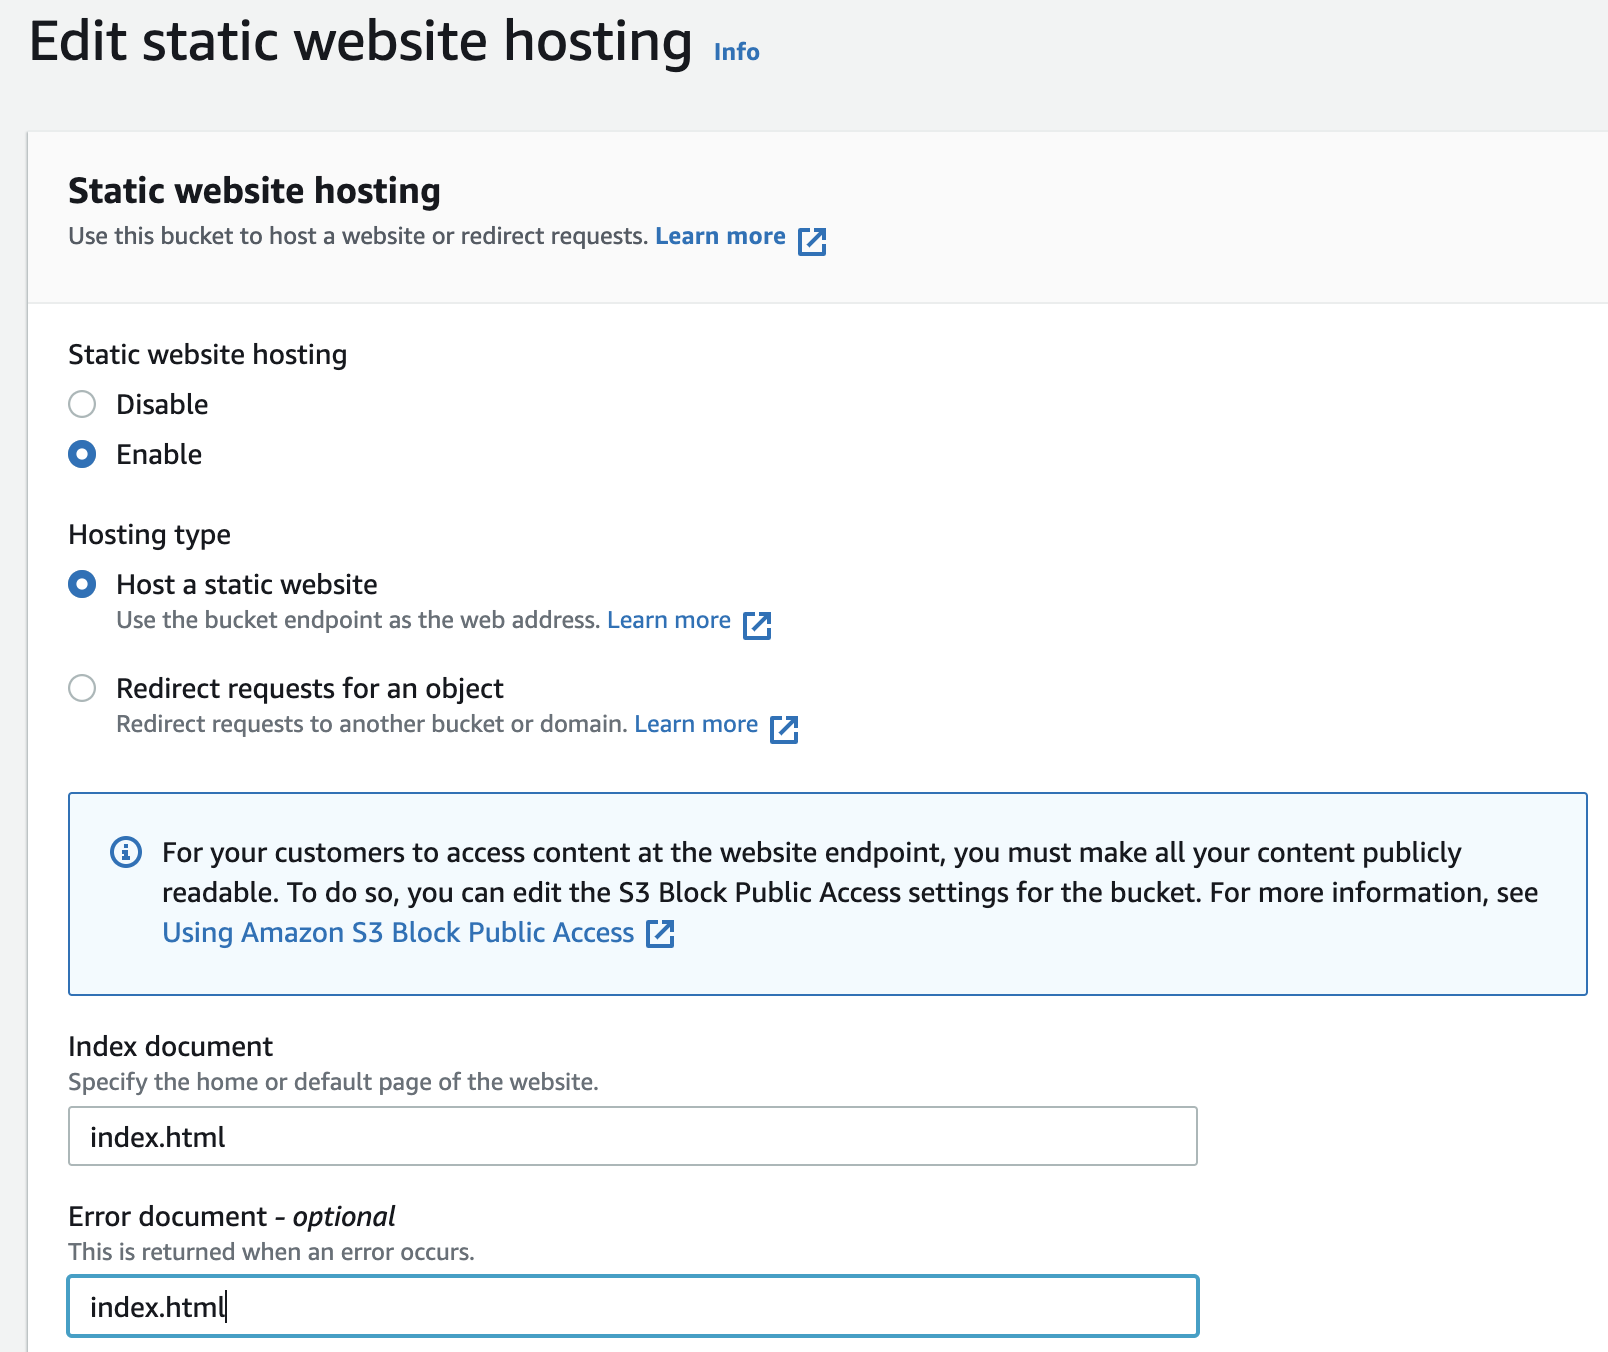
We have also set the Index document and Error document to index.html.
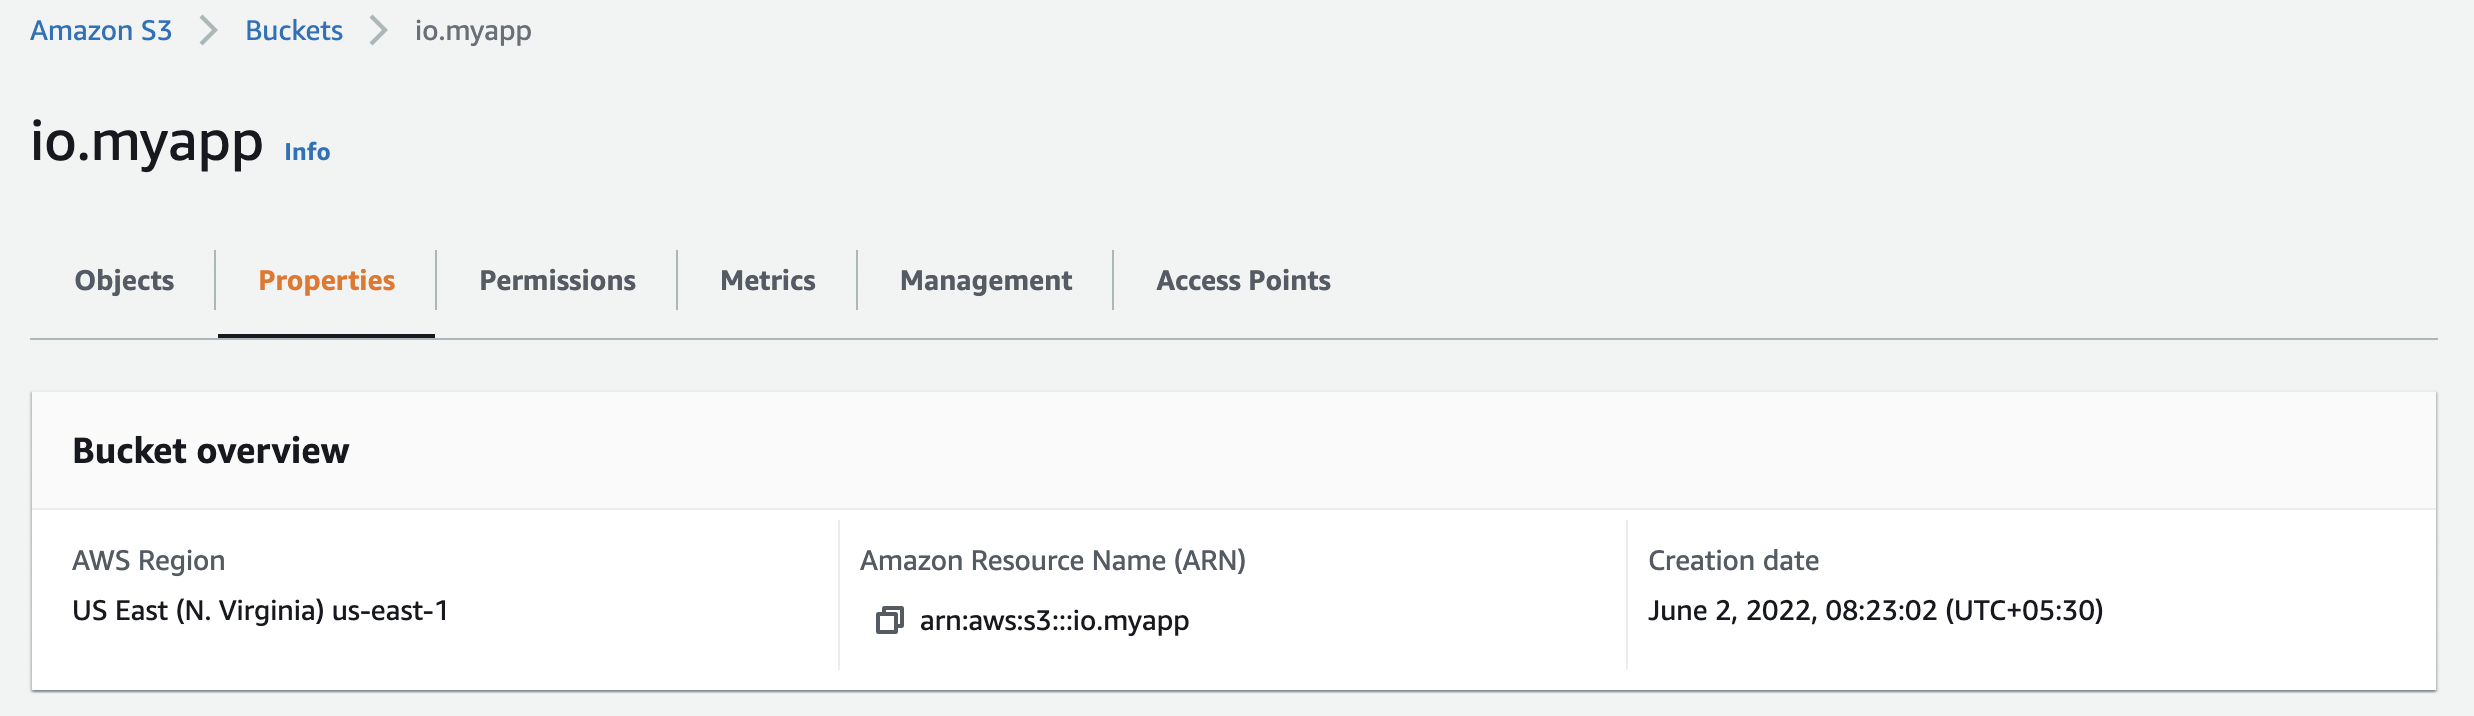
After we enable the static web hosting, the section under our static web hosting property of our S3 bucket will look like this:
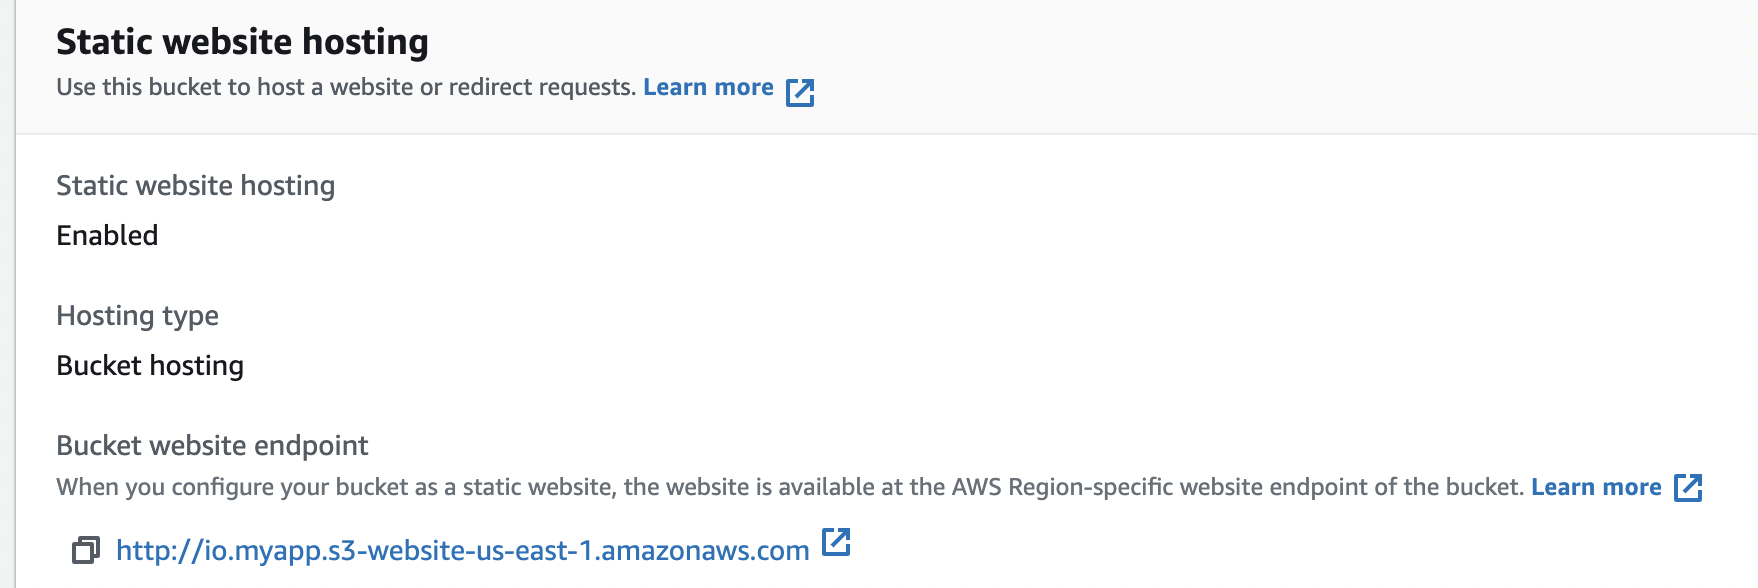
We can see a property Bucket website endpoint which contains the URL to be used for navigating to our website after copying the static files to the S3 bucket.
Types of S3 Bucket Endpoints
Since we will be configuring the S3 bucket URL as the origin when we create a CloudFront distribution in subsequent sections, it will be useful to understand the two types of endpoints associated with S3 buckets:
REST API Endpoint
This endpoint is in the format: {bucket-name}.s3-{region}.amazonaws.com. In our example, the Bucket Website Endpoint is http://io.myapp.s3-us-east-1.amazonaws.com.
The characteristics of Bucket Website Endpoints are:
- They support SSL connections
- Connections to the Bucket Website Endpoint provides end to end encryption
- They can use Origin Access Identity (OAI) to restrict access to the contents of the S3 bucket. Origin Access Identity (OAI) is a special CloudFront user that is associated with CloudFront distributions. This is further explained in a subsequent section titled “Securing Access to Content”.
- They support both private and public access to the S3 buckets.
Bucket Website Endpoint
This endpoint is generated when we enable static website hosting on the bucket and is in the format: {bucket-name}-website.s3.amazonaws.com. In our example, the Bucket Website Endpoint is http://io.myapp.s3-website-us-east-1.amazonaws.com.
The characteristics of Bucket Website Endpoints are:
- They do not support SSL connections
- They support redirect requests
- They can not use Origin Access Identity (OAI) to restrict access to the contents of the S3 bucket.
- They serve the default index document (Default page)
- They support only publicly readable content
We will use the Bucket Website Endpoint in our example when we set up a CloudFront distribution to serve content from a public S3 bucket.
Attaching an S3 Bucket Policy
We also need to attach a bucket policy to our S3 bucket. The bucket policy, written in JSON, provides access to the objects stored in the bucket:
{
    "Version": "2012-10-17",
    "Statement": [
        {
            "Sid": "Statement1",
            "Effect": "Allow",
            "Principal": "*",
            "Action": "s3:GetObject",
            "Resource": "arn:aws:s3:::io.myapp/*"
        }
    ]
}
This bucket policy provides read-only access to all the objects stored in our bucket as represented by the resource ARN: arn:aws:s3:::io.myapp/*.
Uploading Static Content to our S3 Bucket
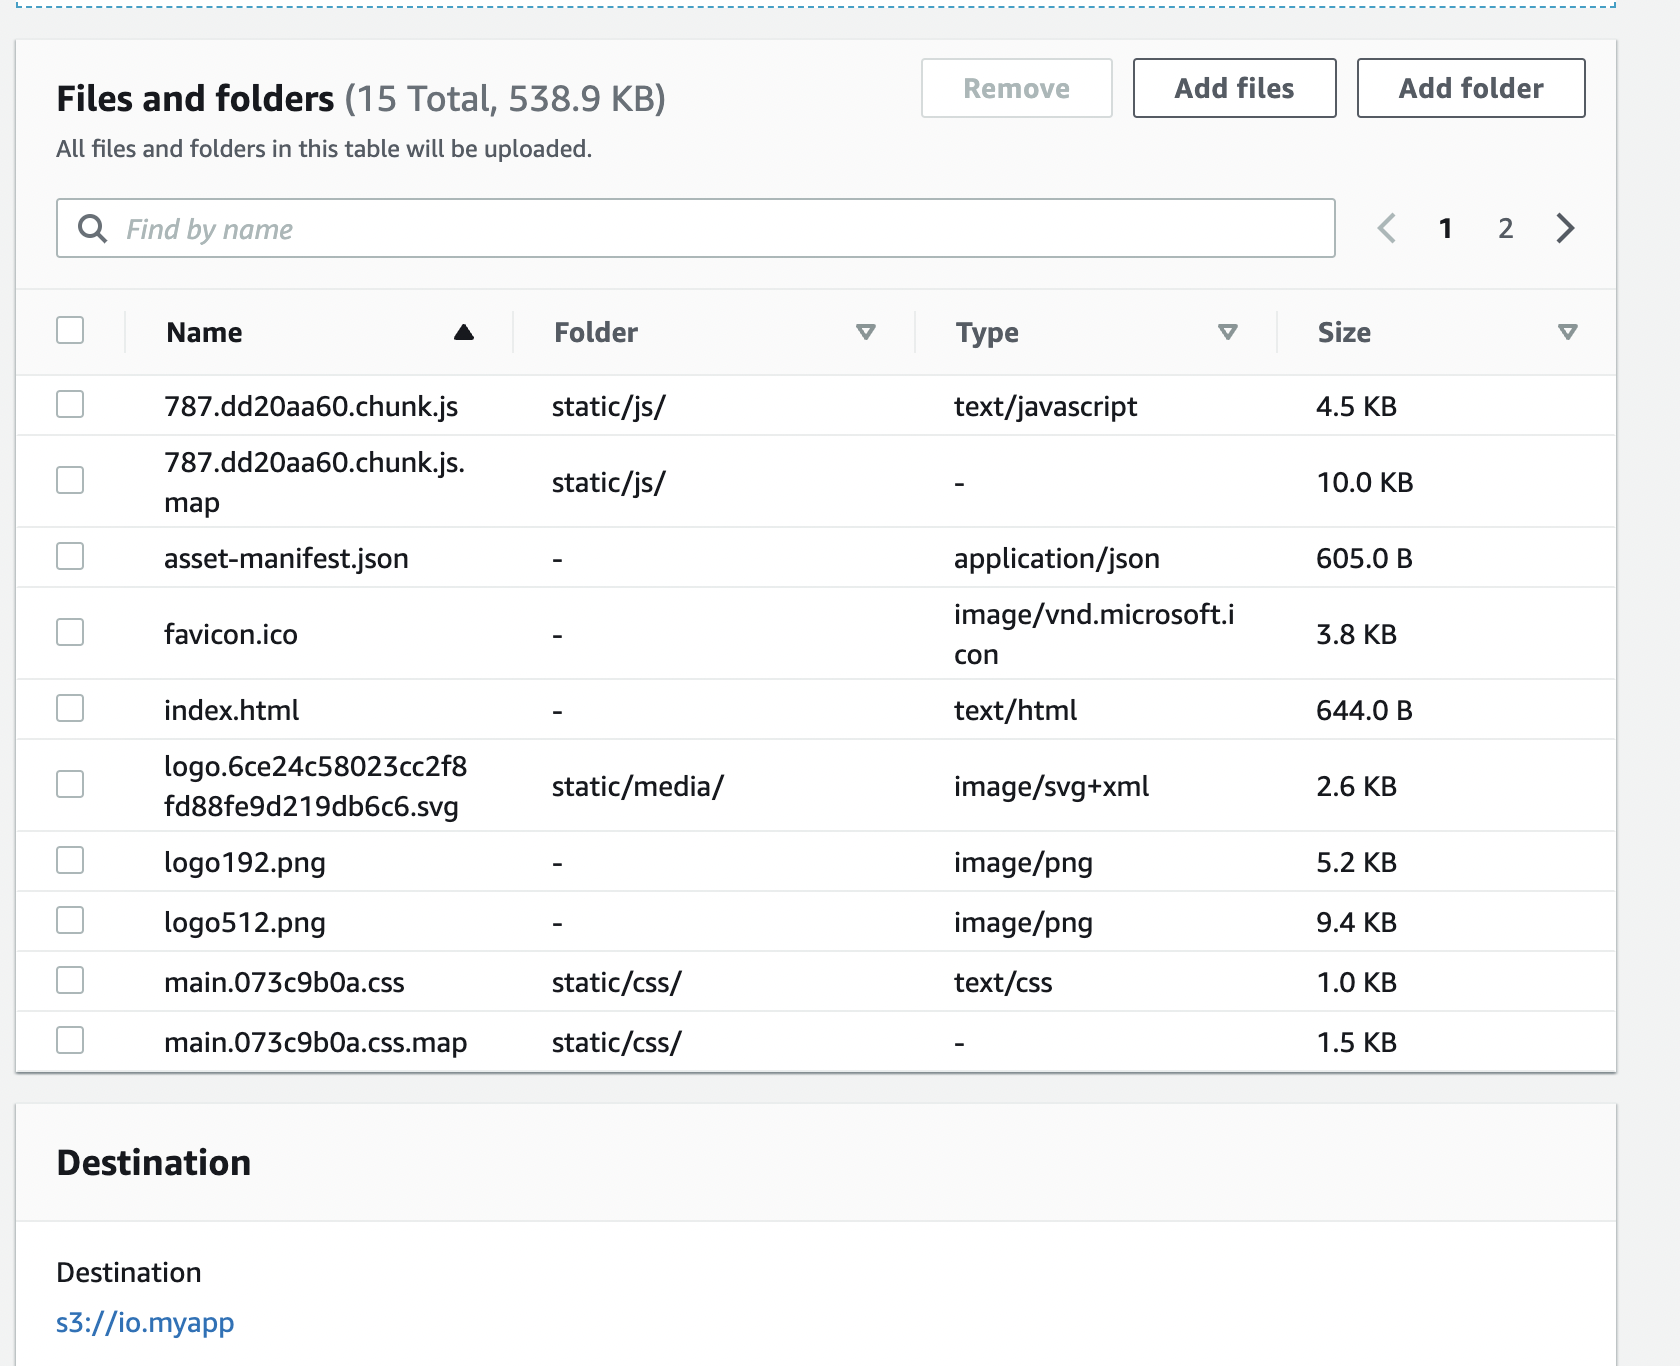
After finishing all the configurations of our bucket, we will upload all our static content under the build folder of our project in our local machine to our S3 bucket. We can upload files from the AWS admin console by drag & drop or by using the Add files or Add folder to upload files and folders from our local machine as shown below:
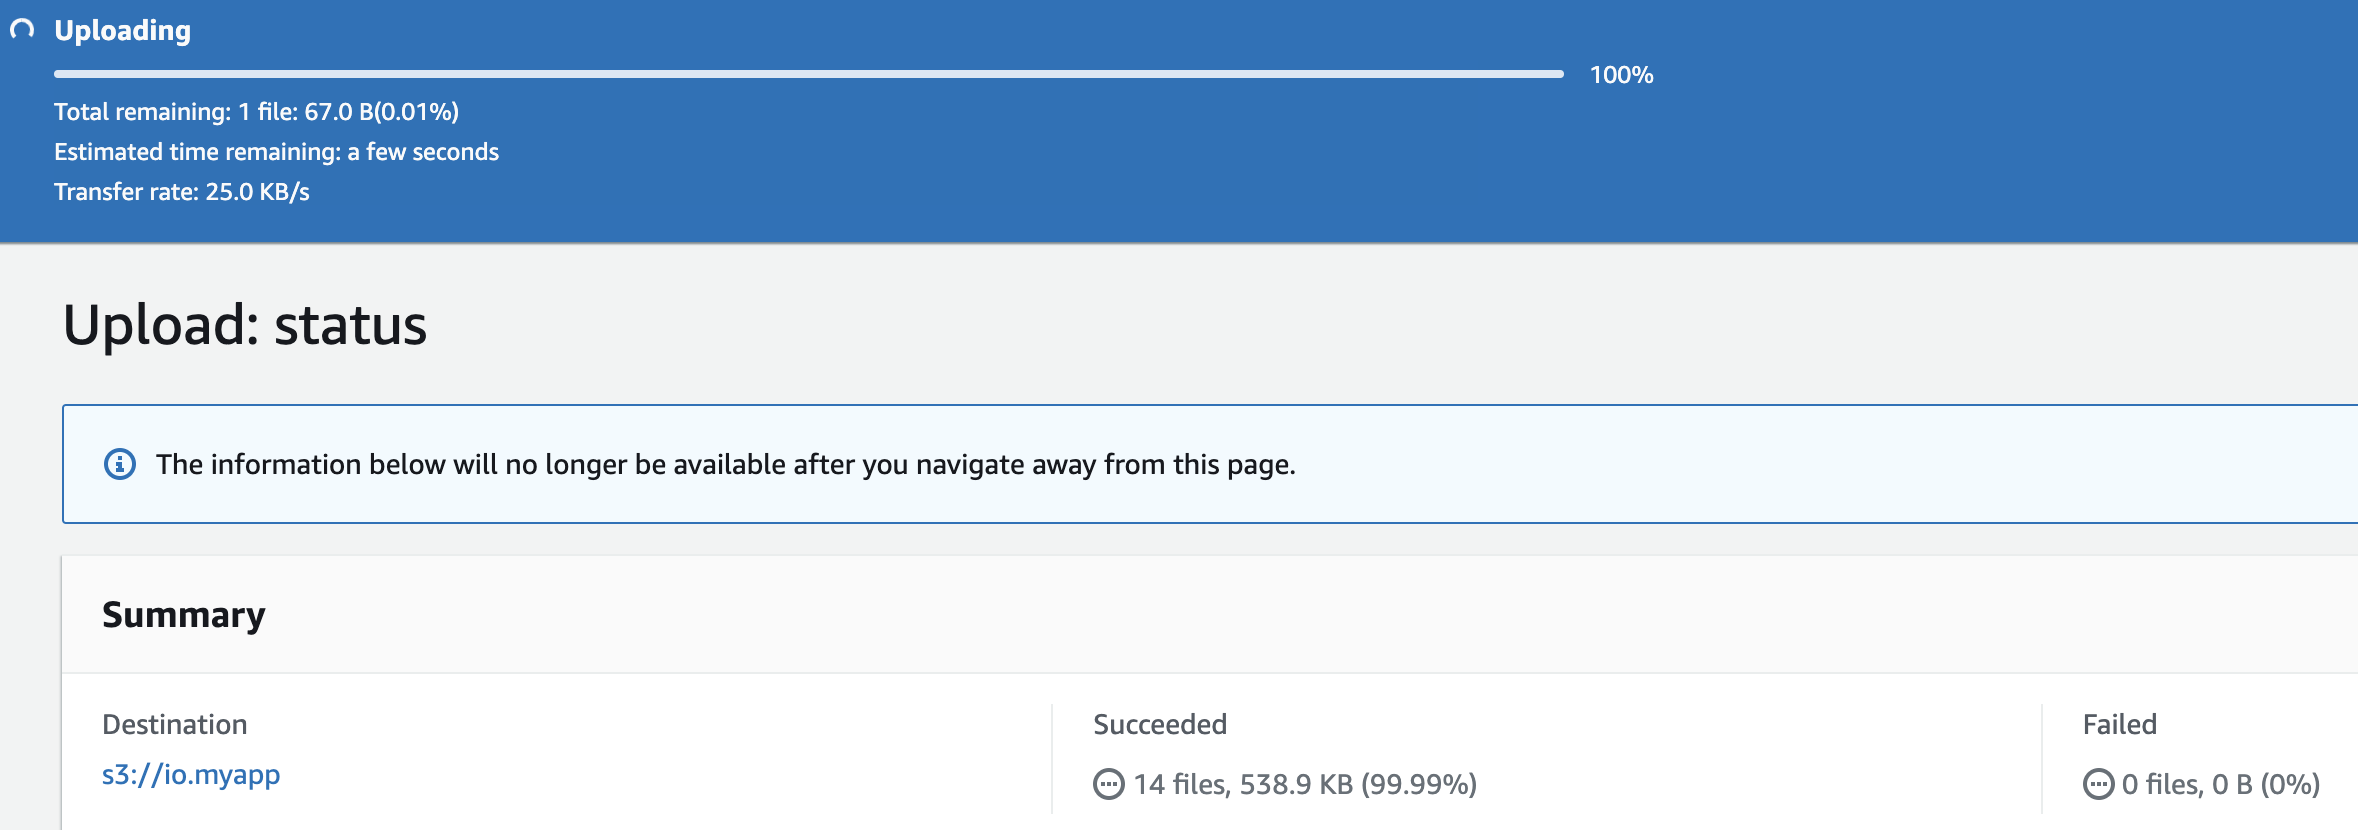
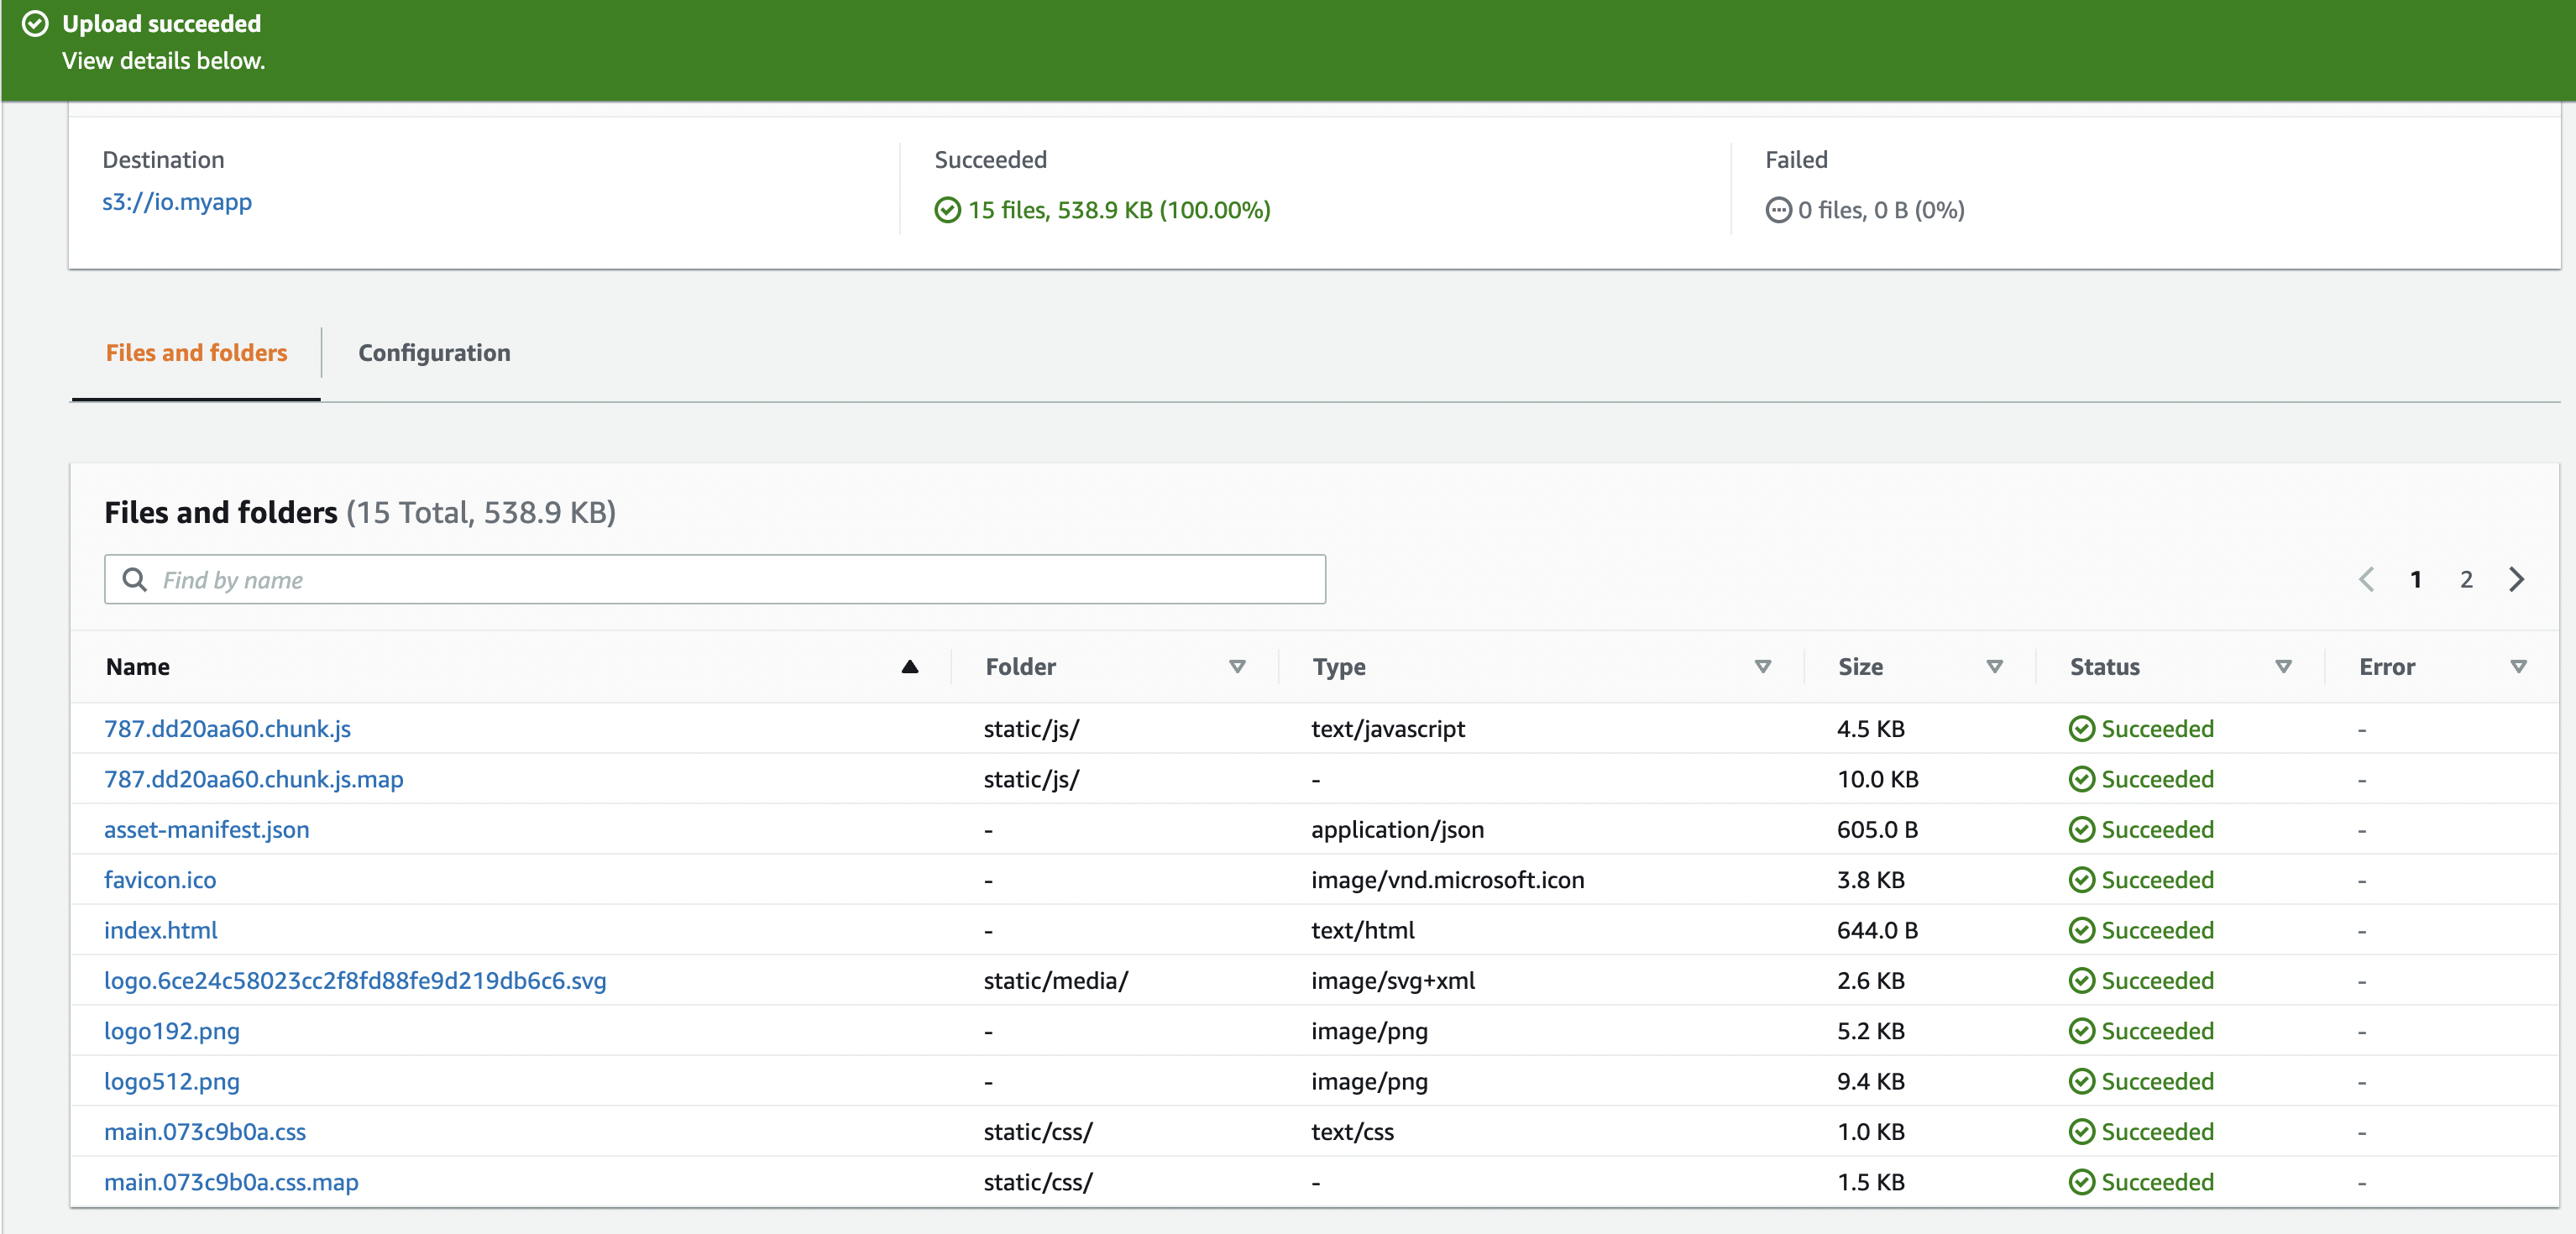
We can see the upload status of all the files after the upload is completed as shown below:
Serving the Web Site from the S3 Bucket
With all the files uploaded we will be able to see our application by navigating to the bucket website endpoint: http://io.myapp.s3-website-us-east-1.amazonaws.com.
Assuming we have customers accessing this website from all parts of the globe, they will all be downloading the static contents from the same S3 bucket in the us-east region in our example. This will result in giving different user experiences to customers depending on their location.
Customers closer to the us-east region will experience a lower latency compared to the customers who are accessing this website from other continents. We will improve this behavior in the next section with the help of Amazon’s CloudFront service.
Creating the CloudFront Distribution
When we want to use CloudFront to distribute our content, we need to create a distribution. We use a CloudFront distribution to specify the location of the content that we want to deliver from CloudFront along with the configuration to track and manage its delivery.
Let us create a CloudFront Distribution from the AWS Management Console:
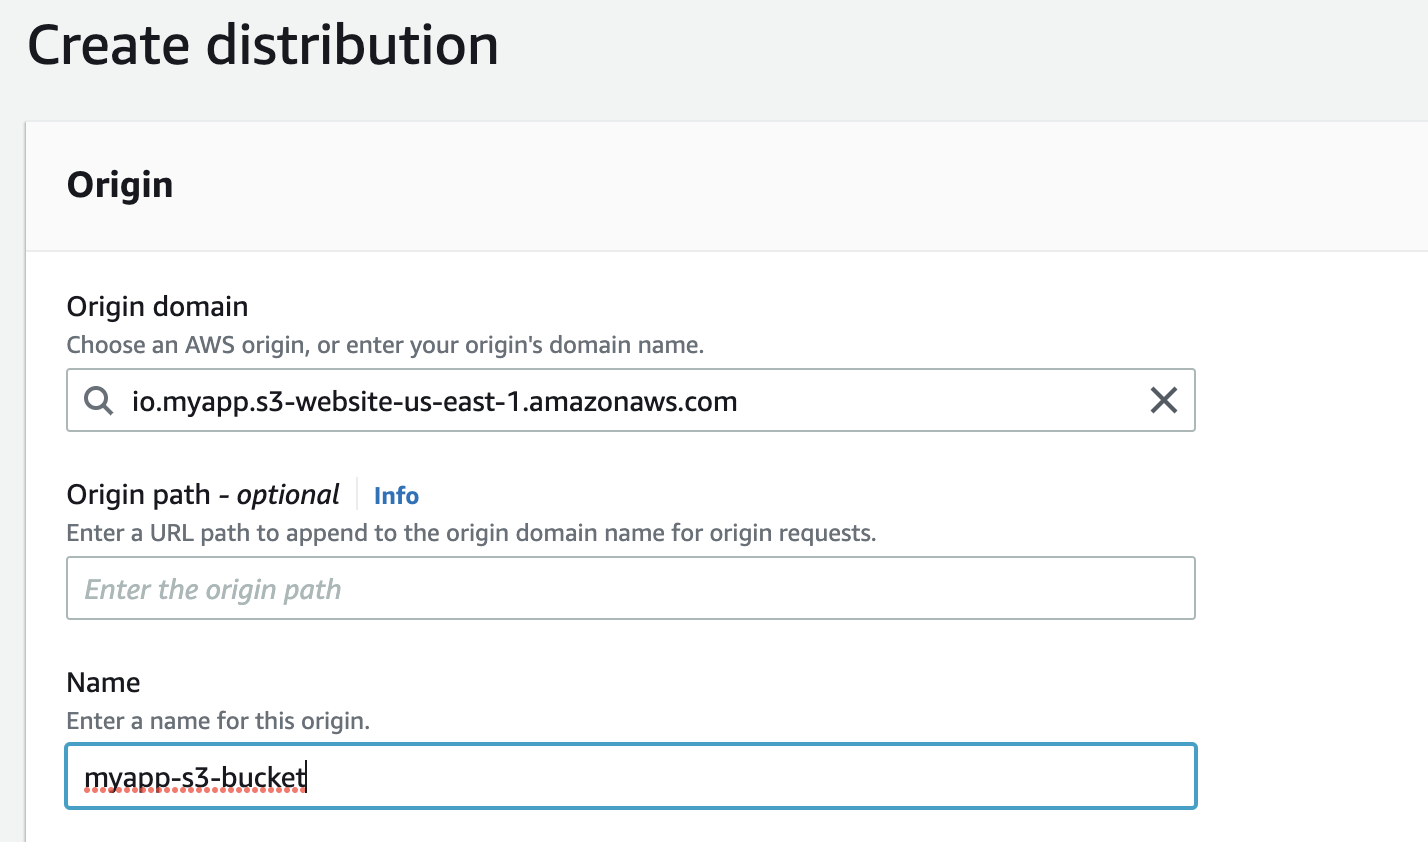
We have set the origin domain to the bucket website endpoint of our S3 bucket created in the previous section and left all other configurations as default. The distribution takes a few minutes to change to enabled status.
After it is active, we can see the CloudFront distribution domain name in the CloudFront console:
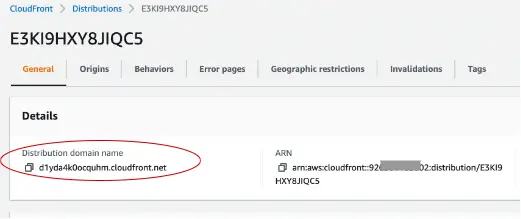
We can now navigate to our website using this CloudFront distribution domain name: https://d1yda4k0ocquhm.cloudfront.net.
Securing Access to Content
In the earlier sections, we used the static assets residing in a public S3 bucket which makes it insecure by making all the content accessible to users if the S3 bucket URL is known to them. CloudFront provides many configurations to secure access to content. Let us look at a few of those configurations:
Securing Content using Origin Access Identity (OAI)
Origin Access Identity (OAI) is a special CloudFront user that is associated with our distributions. We can restrict access to the S3 bucket by updating the bucket policy to provide read permission to the OAI defined as the Principal in the policy definition as shown below:
{
  "Version": "2012-10-17",
  "Statement": [
    {
      "Sid": "2",
      "Effect": "Allow",
      "Principal": {
        "AWS": "arn:aws:iam::cloudfront:user/
               CloudFront Origin Access Identity <OAI>"
       },
      "Action": "s3:GetObject",
      "Resource": "arn:aws:s3:::<S3 bucket name>/*"
    }
  ]
}
Let us create another CloudFront Distribution but this time configured to use an OAI to access the contents in the S3 bucket:
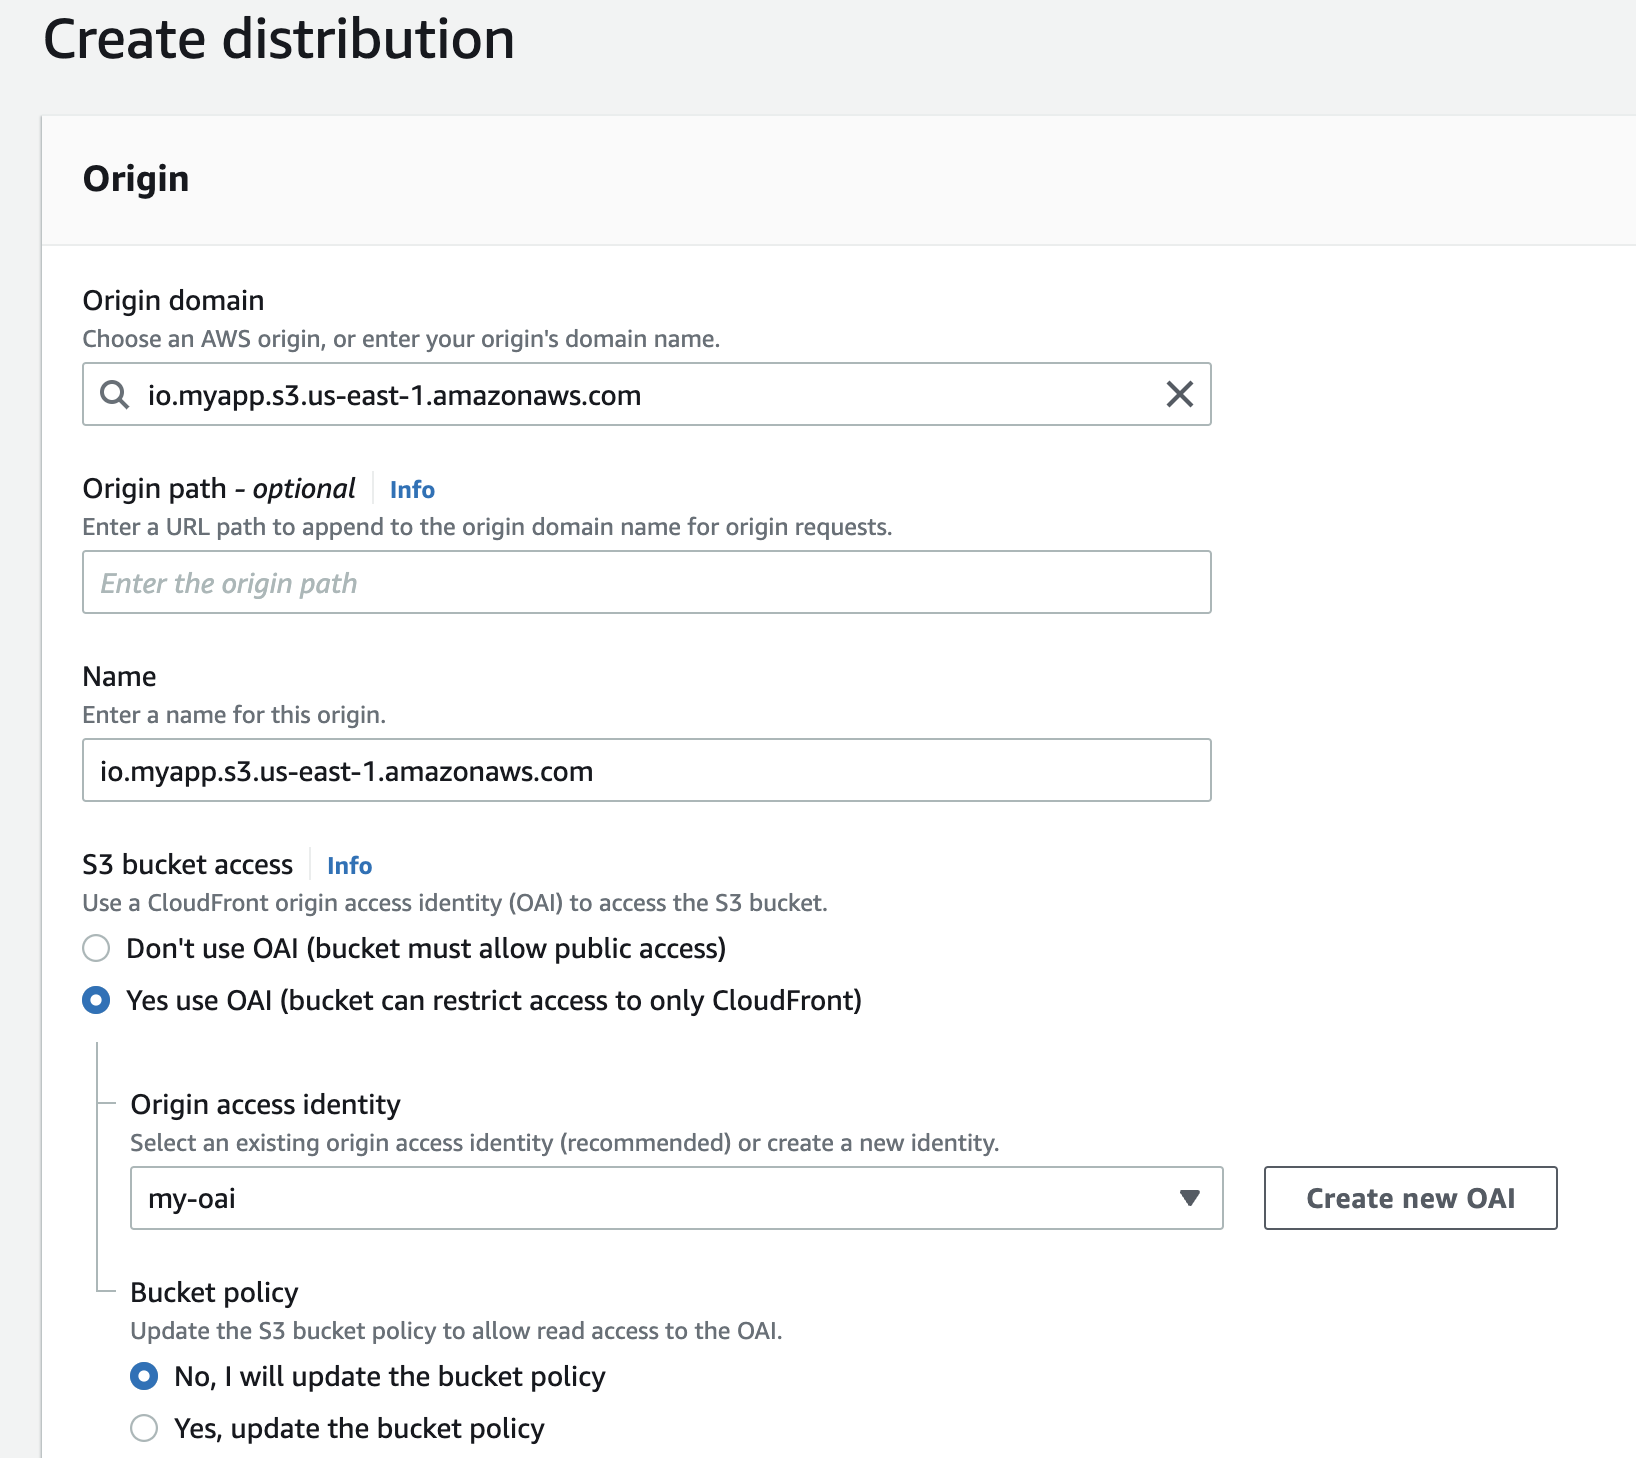
This time we have chosen the S3 REST API endpoint from the selection box as the origin domain instead of the bucket website endpoint. In the section for S3 bucket access, we have selected the option: Yes use OAI and created an OAI: my-oai to associate with this distribution.
We have also chosen the option of updating the bucket policy manually after creating the distribution.
We can also reuse an OAI if we have one, instead of creating a new OAI. An AWS account can have up to 100 CloudFront origin access identities (OAIs). Since, we can add an OAI to multiple CloudFront distributions, so one OAI for an AWS account is sufficient in most cases.
If we had not created an OAI and added it to our CloudFront distribution during creating the distribution, we can create it later and add it to the distribution by using either the CloudFront console or the CloudFront API.
After creating the distribution, let us update the bucket policy of our S3 bucket to look like this:
{
  "Version": "2012-10-17",
  "Statement": [
    {
      "Sid": "1",
      "Effect": "Allow",
      "Principal": {
        "AWS": "arn:aws:iam::cloudfront:user/
                CloudFront Origin Access Identity E32V87I09SD18I"
      },
      "Action": "s3:GetObject",
      "Resource": "arn:aws:s3:::io.myapp/*"
    }
  ]
}
This bucket policy grants the CloudFront origin access identity (OAI) with id: E32V87I09SD18I permission to get (read) all objects in our Amazon S3 bucket. We have set the Principal to the OAI id which can be found from the AWS management console.
We have also disabled the public access to the S3 bucket and the static web hosting property.
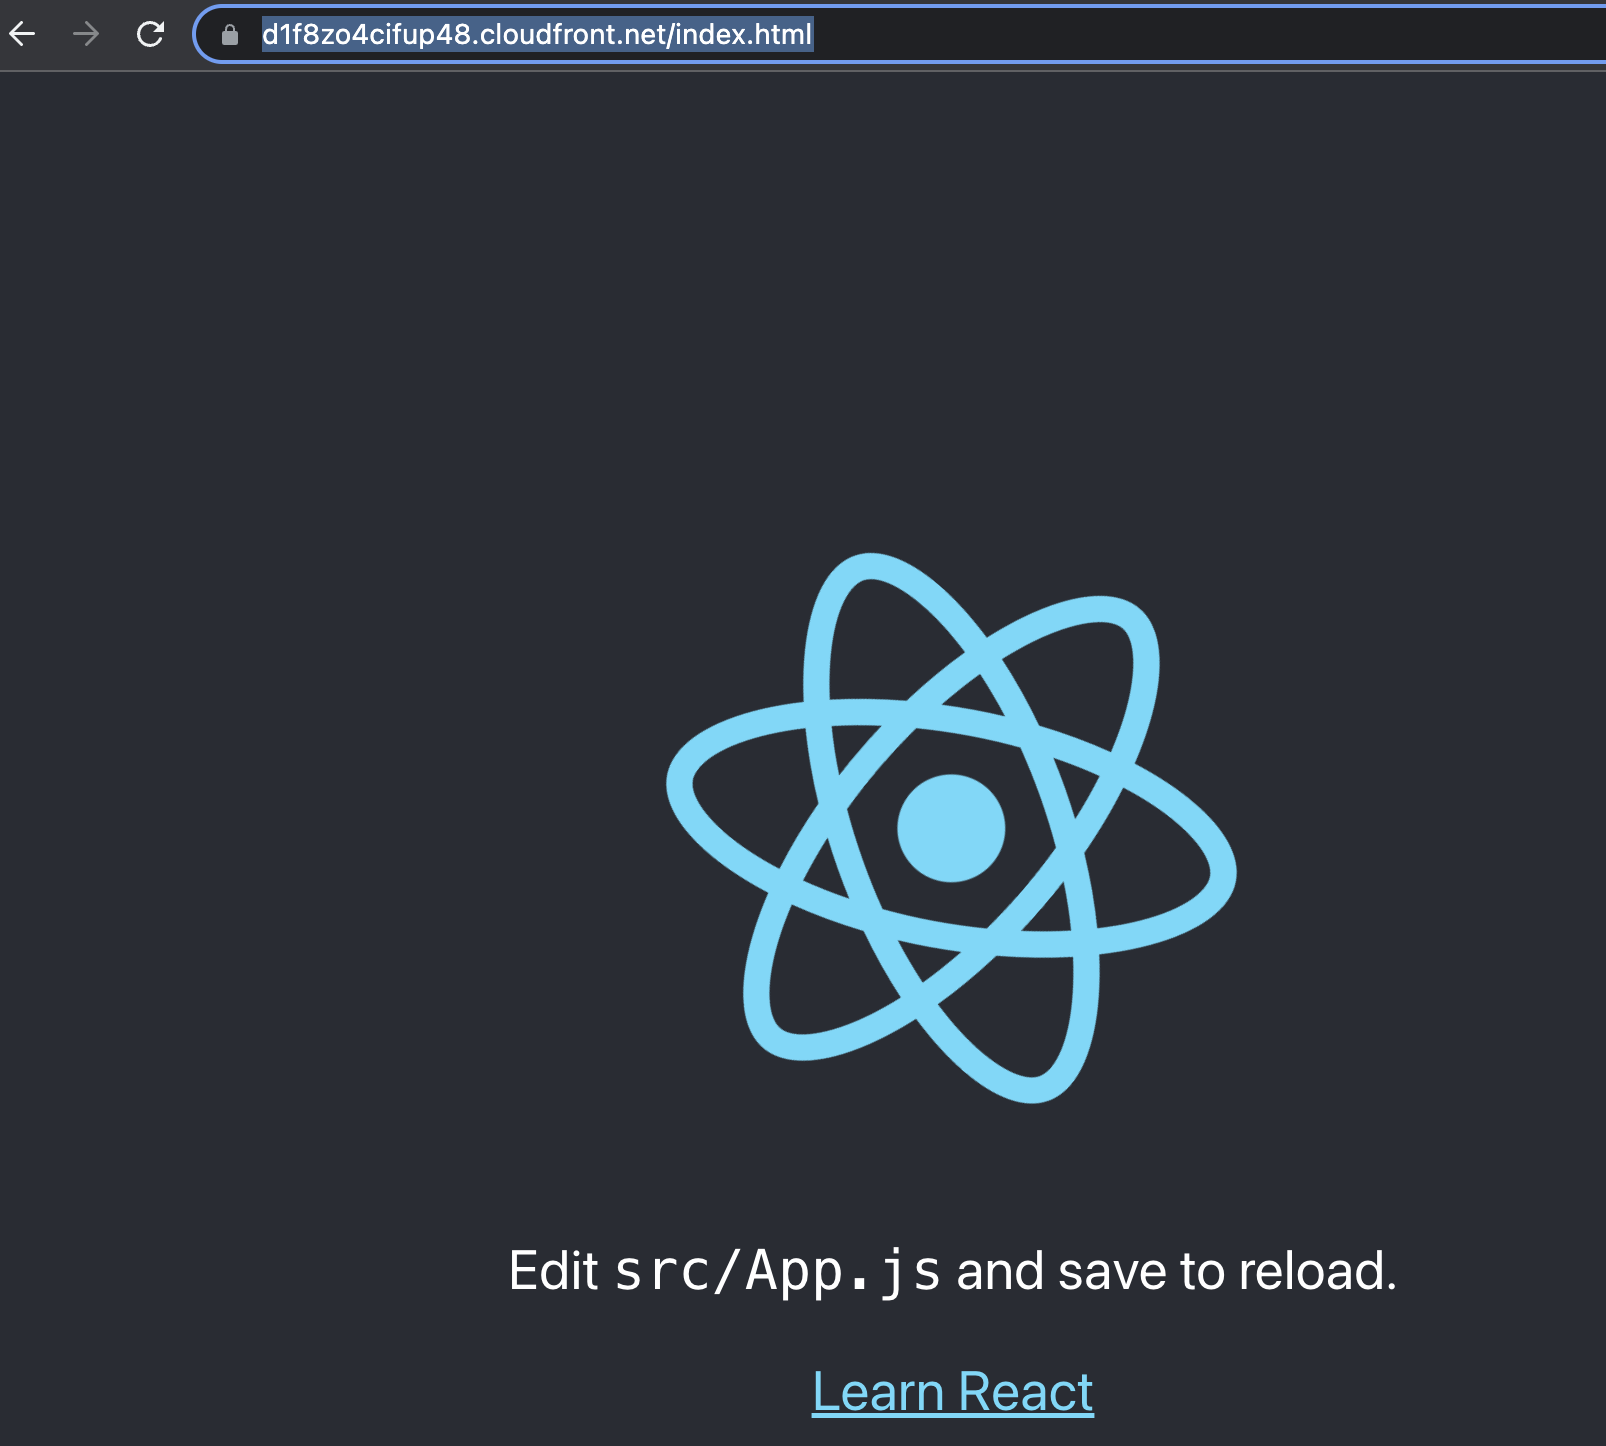
After the CloudFront distribution is deployed and active, we can navigate to our website using the CloudFront distribution domain name: https://d4l1ajcygy8jp.cloudfront.net/index.html:
Some of the other configurations for securing content by CloudFront are:
Securing using HTTPS
In our previous distribution setting, we used the domain name that CloudFront assigned to our distribution, such as dxxxxxxabcdef8.cloudfront.net, and could navigate to our website using HTTPS protocol. In this configuration, CloudFront provides the SSL/TLS certificate.
We can also use our domain name, such as mydomain.com, and use an SSL/TLS certificate provided by AWS Certificate Manager (ACM) or import a certificate from a third-party certificate authority into ACM or the IAM certificate store. Please refer to the official documentation for the configuration steps.
When we access content from CloudFront, the request passes through two legs:

- Viewer to CloudFront
- CloudFront to the Origin server
We can choose to secure either one or both legs by encrypting the communication by using HTTPS protocol.
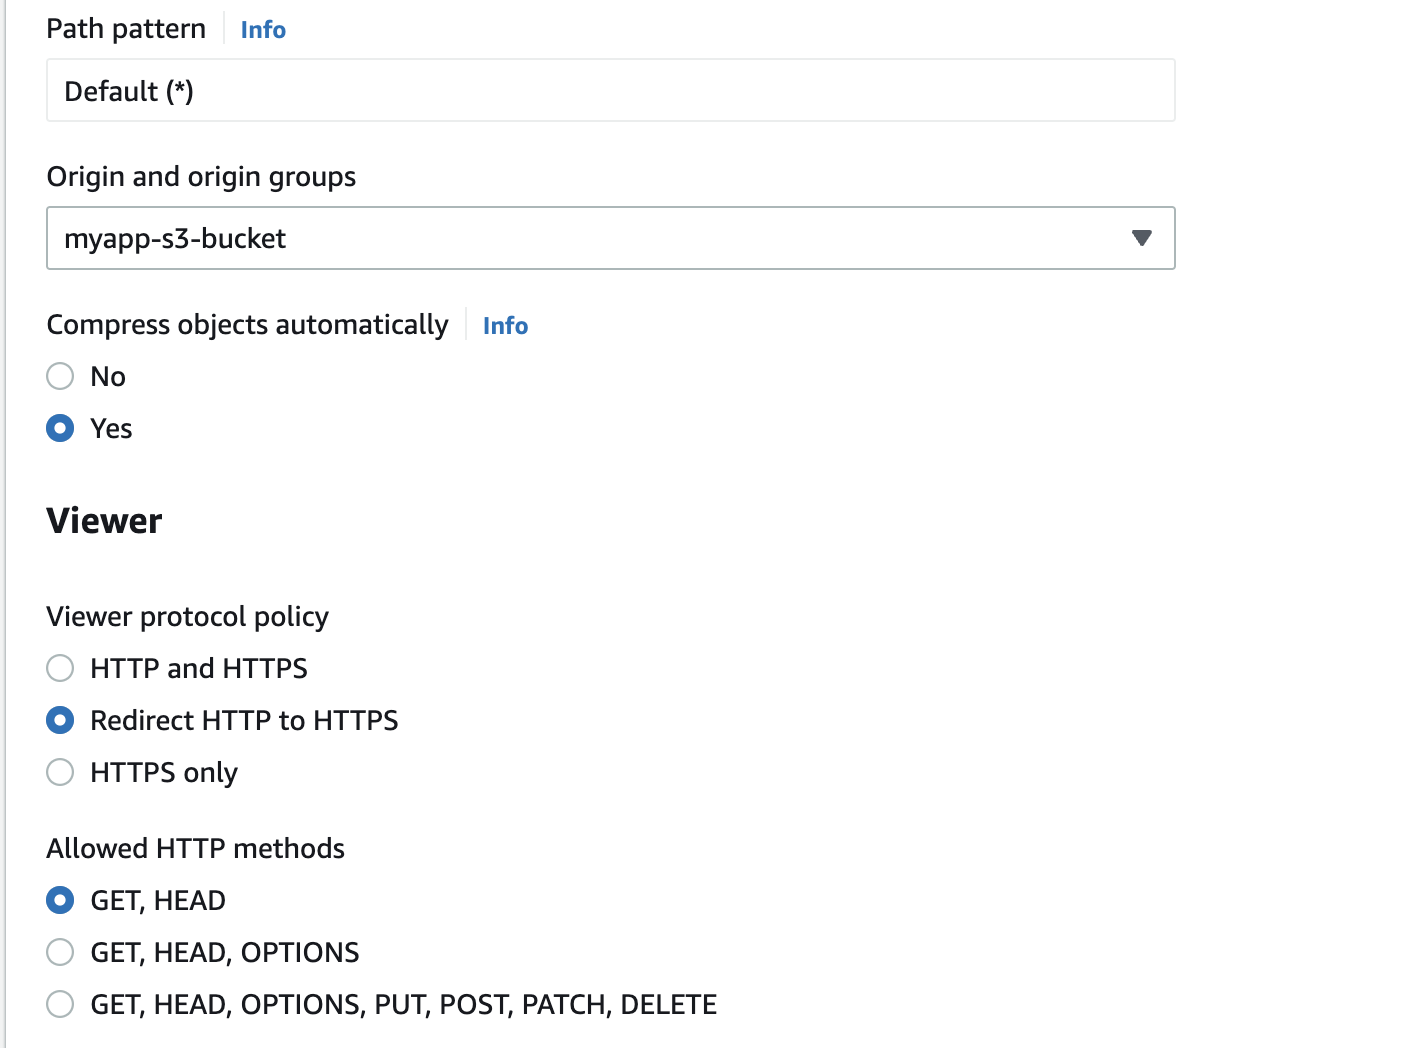
We can configure CloudFront to require HTTPS between viewers and CloudFront by changing the Viewer Protocol Policy to either Redirect HTTP to HTTPS or HTTPS Only.
When our origin is an S3 bucket, our options for using HTTPS for communications with CloudFront depend on the bucket configuration. If our S3 bucket is configured as a website endpoint, we cannot configure CloudFront to use HTTPS to communicate with our origin because S3 does not support HTTPS connections in that configuration.
When our origin is an S3 bucket that supports HTTPS communication, CloudFront always forwards requests to S3 by using the protocol used by the viewers to send their requests.
Restricting Content based on Geography
We can use geographic restrictions, to prevent users in specific geographic locations from accessing content being distributed through a CloudFront distribution. We can either use the CloudFront geographic restrictions feature or use a third-party geolocation service.
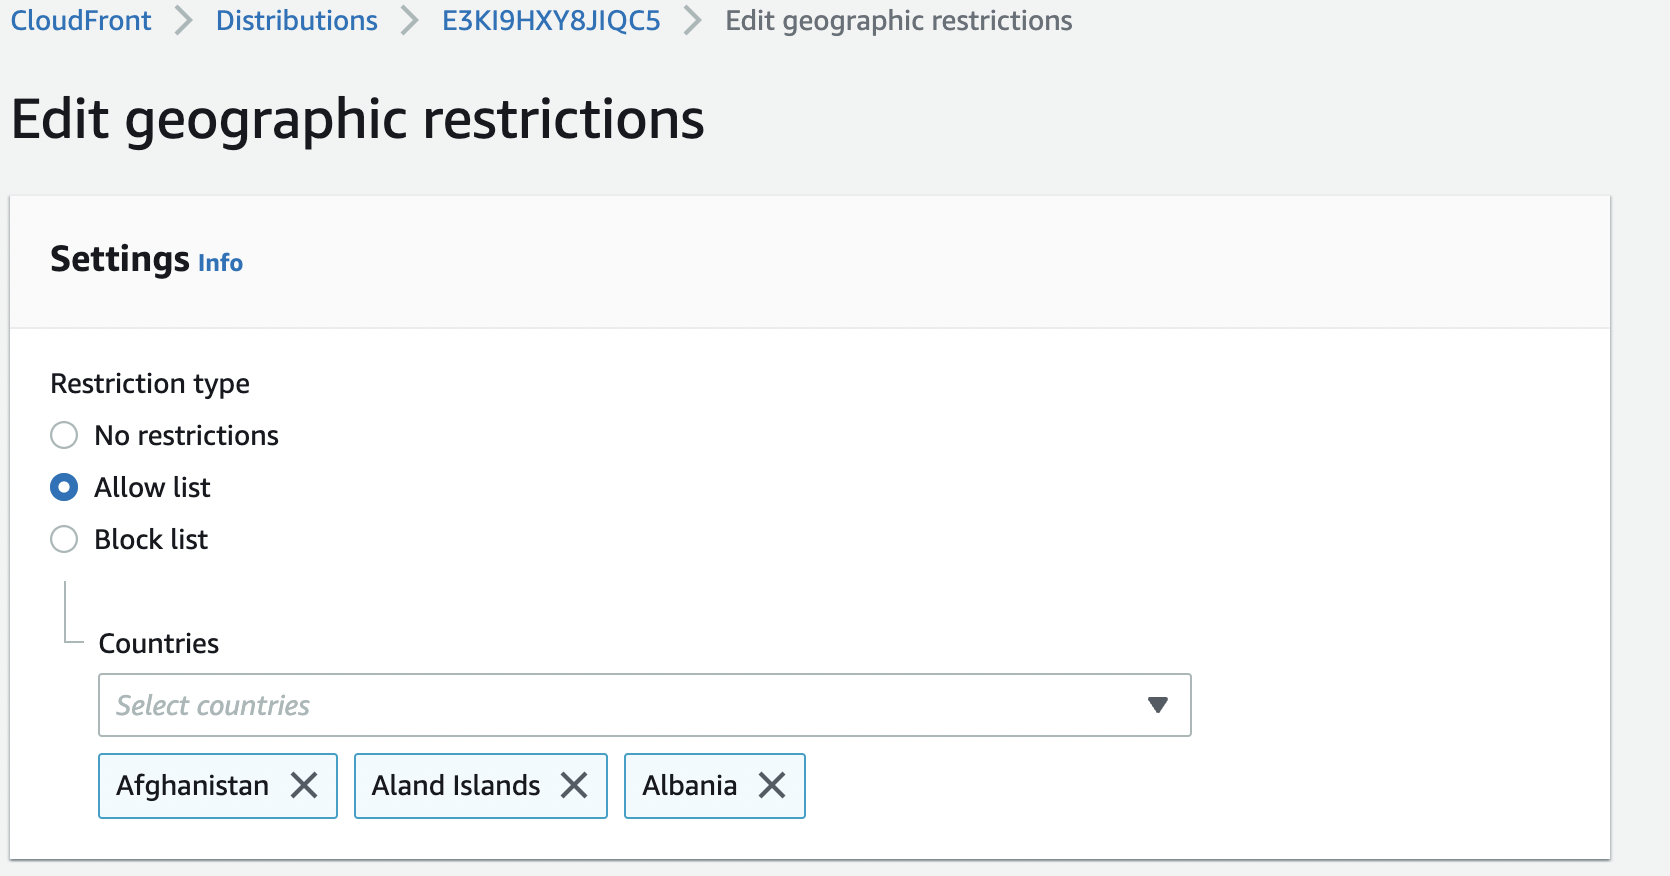
Here we are configuring the Allow list option to allow viewers to access our content only if they are in one of the approved countries on the allow list. Alternately, we can use the Block list option to prevent viewers from accessing our content if they are in one of the banned countries on our block list.
Monitor Requests Using AWS WAF (Web Application Firewall)
AWS WAF is a web application firewall that monitors the HTTP and HTTPS requests that are forwarded to CloudFront. We can specify different conditions such as the values of query strings or the IP addresses that requests originate from, based on which CloudFront responds to requests either with the requested content or with an HTTP status code 403 (Forbidden).
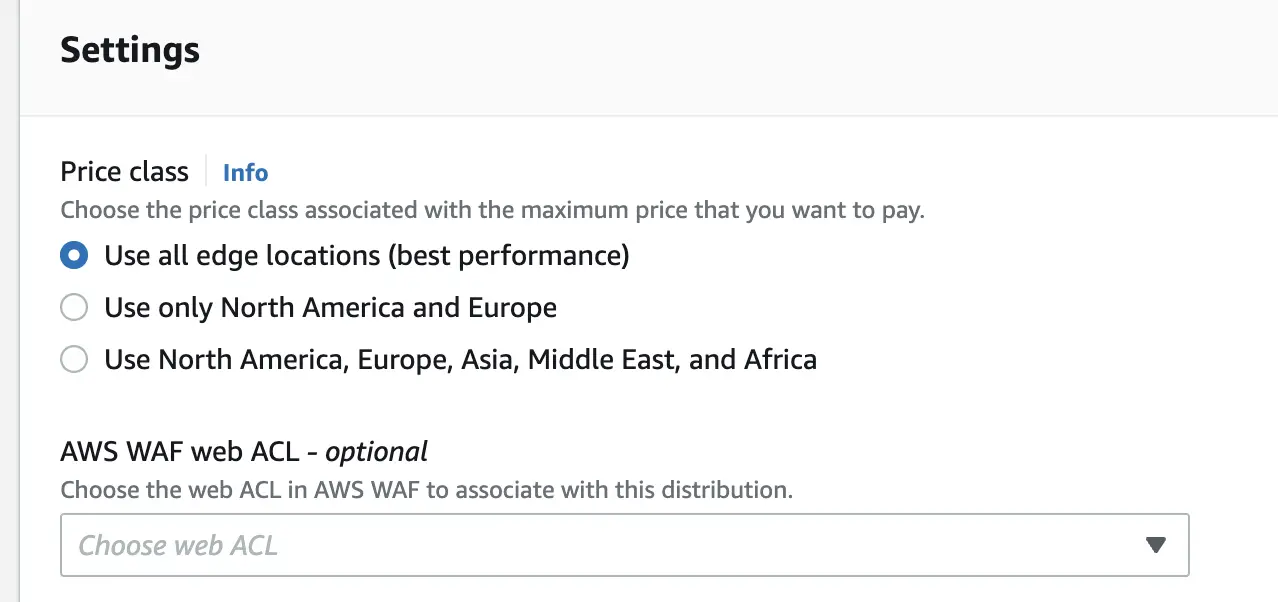
We can create an AWS WAF web access control list (web ACL) and associate the CloudFront distribution with the web ACL when creating or updating the distribution.
Conclusion
In this article, we configured Amazon CloudFront to distribute static Content stored in an S3 bucket. Here is a summary of the steps for our quick reference:
- We created an S3 bucket with public access.
- We enable static web hosting on the S3 bucket and got a bucket website endpoint.
- We added an S3 bucket policy to allow access to the contents of the S3 bucket for all users (
*). - We uploaded some static contents in the form of JavaScript, images, HTML, and CSS files of a Single Page Application (SPA) built using the React library.
- With this setup, we could view the website in our browser using the S3 bucket website endpoint.
- We finally created a CloudFront distribution and configured the S3 bucket website endpoint as the origin.
- After the CloudFront distribution was deployed, we could view the website in a browser using the CloudFront URL.
- Next we secured the S3 bucket by removing public access.
- We disabled static web hosting on the S3 bucket.
- We created another CloudFront distribution with the S3 Rest API endpoint.
- We created an Origin Access Identity (OAI) and associated it with the bucket.
- We updated the S3 bucket policy to allow access only to the OAI coming from CloudFront.
- After this CloudFront distribution was deployed, we could view the website in a browser using the CloudFront URL.